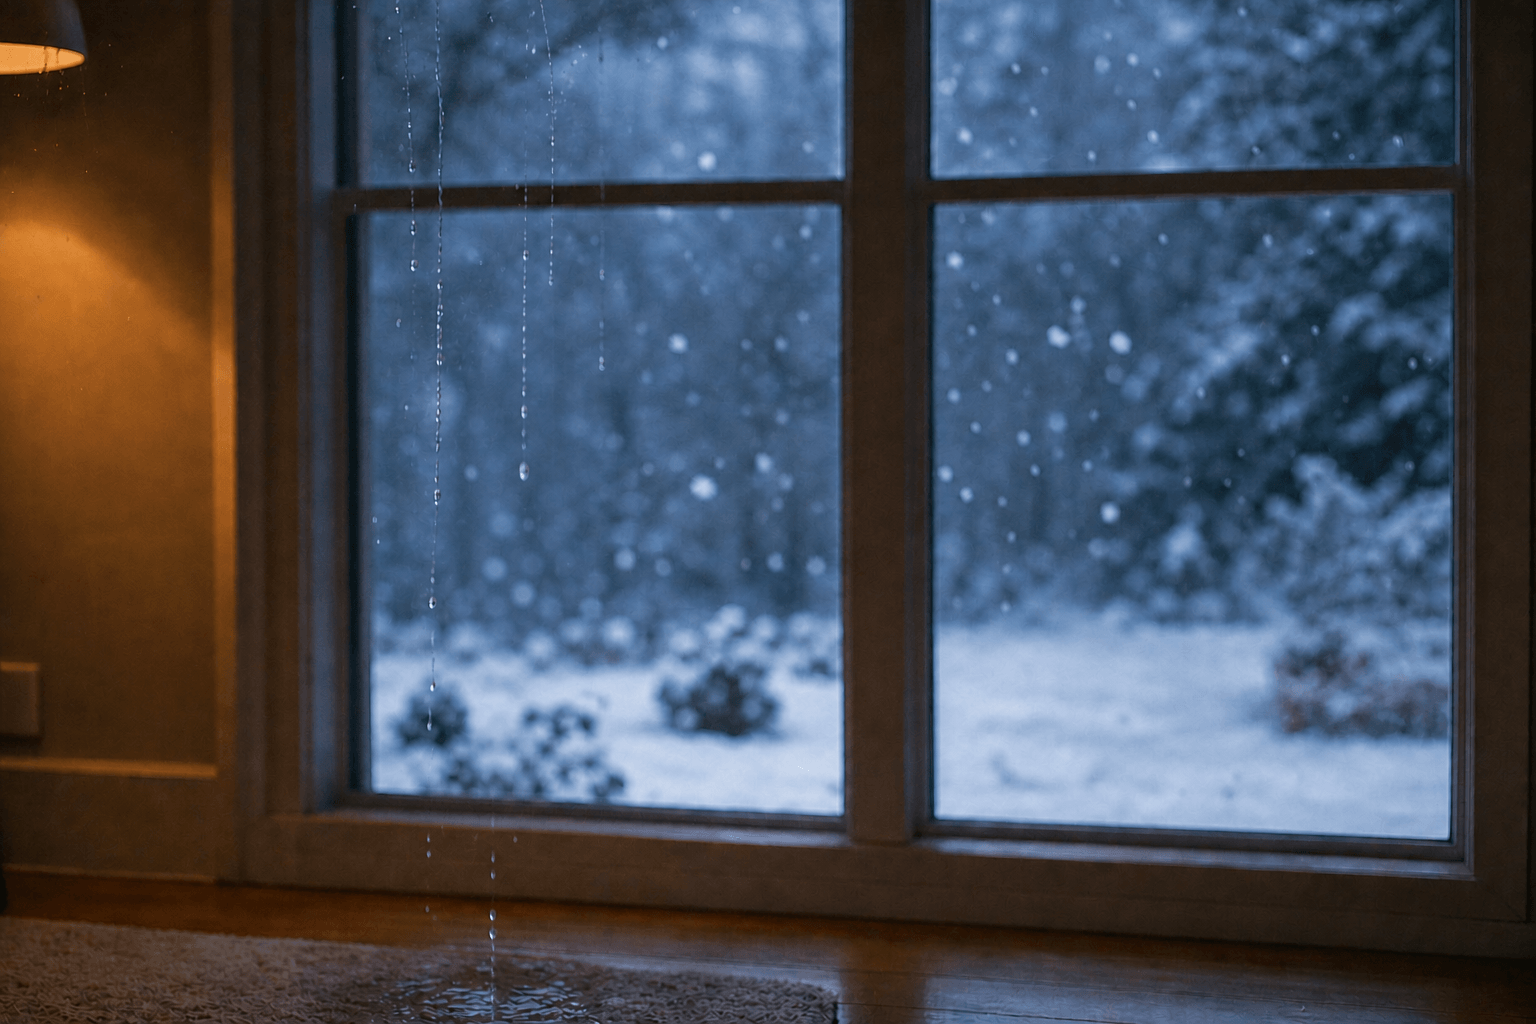

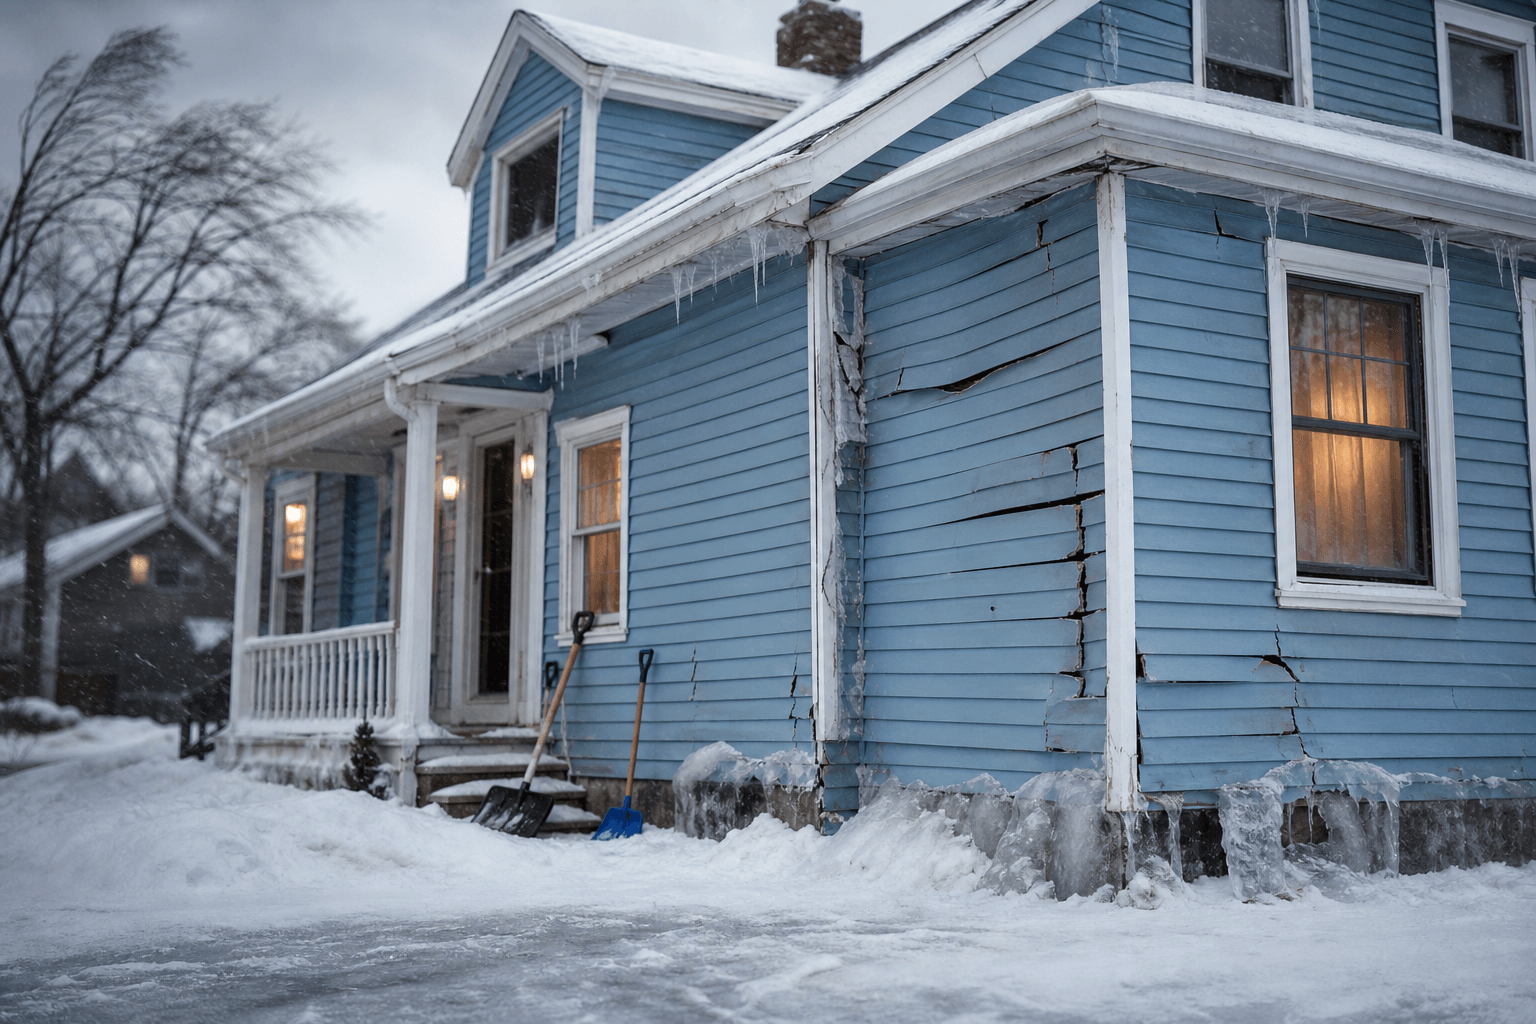
Vinyl siding is built to handle New England weather, but winter is the hardest test it faces. Cold snaps, ice, wind, and freeze-thaw swings can crack panels, pull seams apart, and let water in behind the wall, often in ways you can’t see from the driveway.
At Adam Quenneville Roofing & Siding (AQRS), we install and repair vinyl siding for homeowners across New England, so we see what a hard winter does to a house every spring. This article walks through the five most common ways winter damages vinyl siding, how to spot each one, and what to do about it.
You’ll learn why vinyl behaves differently in the cold, what winter damage actually looks like, which steps you can take yourself, and how to tell when a repair is enough and when it isn’t.
AQRS installs and replaces vinyl siding, so we have a business interest in this topic. We’ll be straightforward about it: a lot of winter siding damage is small and fixable, and we’ll tell you where a simple repair makes more sense than a full replacement. Use this article to understand what you’re looking at, whether you hire us or not.
Why Does Cold Weather Affect Vinyl Siding?
Vinyl is a plastic, and plastics respond to temperature in two ways that matter in winter.
- It gets stiffer and less forgiving. In cold weather, vinyl is more rigid and less able to absorb an impact. A hit that would bounce off a mild day can crack a panel on a very cold one.
- It contracts. Vinyl expands as it warms and shrinks as it cools. Siding is installed so panels can slide slightly along their fastening slots. When that movement is restricted, the panel has nowhere to go.
Neither of these is a defect. It’s how the material works, and a properly installed system is designed around it. Problems show up when installation, age, or moisture changes the equation.
5 Ways Winter Weather Damages Vinyl Siding
1. Cracks and Splits From Cold Impact
Frozen ground, ice chunks sliding off a roof, a snowblower kicking up gravel, or a shovel swung too close to the wall can all crack cold vinyl. Older siding is more vulnerable because years of sun exposure can make it more brittle than it was when new.
What to look for: hairline cracks, small round chips, or vertical splits, often near corners, below rooflines, and along walkways and driveways where snow gets cleared.
2. Buckling, Gaps, and Pulled Seams From Temperature Swings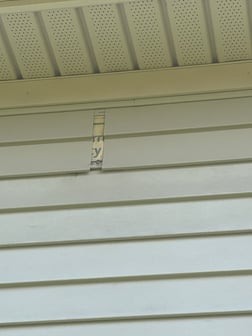
When temperatures drop, panels contract and can pull away from trim or open gaps at the seams. If panels were nailed too tightly, they can’t shift freely, so they stress, ripple, or buckle instead. New England’s habit of swinging from deep cold to a mild afternoon and back again makes this worse.
What to look for: waves or ripples in the siding, visible gaps at corners or J-channel, and panels that look pulled or uneven compared with a few months earlier.
3. Ice Dams That Push Water Behind the Siding
Ice dams form when heat escaping from the house melts snow on the roof, and that meltwater refreezes at the colder roof edge. The ice builds into a ridge that traps water behind it. That water can back up under shingles and run down into the wall, where it can get behind the siding.
This is one of the most expensive kinds of winter damage because it’s hidden. Siding sheds water, but it isn’t a sealed barrier. Moisture that gets behind it can soak the sheathing and insulation and, over time, lead to mold or rot, even when the vinyl itself looks fine.
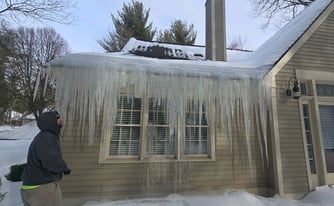 What to look for: icicles and ice buildup along the roof edge, water stains or staining streaks below the eaves, peeling paint or dampness on interior walls near the ceiling line, and siding that looks stained or discolored near the roofline.
Ice dams are usually a roof, insulation, and ventilation problem at the source, so fixing the siding alone won’t stop them from coming back.
4. Wind-Lifted or Loosened Panels
Winter storms bring sustained wind and sudden gusts. If panels are already loose, damaged, or poorly fastened, wind can lift them, unlock the bottom edge, or flap them enough to widen nail holes. Once one panel works loose, the neighboring panels often follow.
What to look for: panels that sag, rattle in the wind, sit away from the wall, or have come completely unlocked at the bottom edge.
5. Damage From Snow, Ice, and the Tools Used to Remove Them
Heavy snow piled against the base of a wall holds moisture against the siding and trim. Chipping ice off the siding or scraping it with a shovel, scraper, or ice pick is also a common way to crack or gouge panels. Piles of plowed snow against the house can add to the problem.
What to look for: scrapes and gouges at ground level, cracked panels near where snow is piled or shoveled, and staining or soft trim at the base of the wall.
How Can You Tell Winter Damage From Normal Wear?
Not every flaw is winter damage, and not every flaw is urgent. As a rule of thumb, a cosmetic issue stays the same over time, while a moisture issue tends to get worse. Here is a simple way to sort what you’re seeing.
- Probably cosmetic: light surface scuffs, minor fading, dirt or mildew you can wash off.
- Worth a closer look: a single cracked or chipped panel, a loose panel, a small gap at a corner.
- Don’t wait on it: buckling that’s spreading, multiple damaged panels in one area, water stains below the roofline, soft or dark trim, or any sign of moisture inside the house.
You can do a safe first check from the ground. Walk the perimeter on a dry day and look at each side of the house, especially under rooflines, at corners, and around windows and doors. Take photos so you can compare them next season or share them with a contractor. Don’t climb a ladder onto an icy surface to inspect it.
What Can You Do to Protect Your Siding This Winter?
You can’t control the weather, but a few habits reduce the risk.
- Don’t chip or scrape ice off the siding. Let it melt, or have a professional deal with it if it’s causing damage.
- Keep snow from piling against the walls where you can do it without hitting the siding.
- Keep gutters clear before the first freeze so meltwater has somewhere to go.
- Watch for ice dams. If you see heavy icicles or ice at the roof edge, get the roof and attic looked at, not just the siding.
- Repair loose or cracked panels early. A single loose panel is an easy fix. A neighbor-by-neighbor chain reaction is not.
Should You Repair or Replace Winter-Damaged Siding?
Often, repair is the right answer. A few cracked or loose panels can usually be replaced individually, as long as matching siding is available and the underlying wall is dry and sound.
Replacement starts to make sense when damage is widespread, when the siding is old enough that panels keep breaking, when you can’t find a color match, or when moisture has already reached the wall underneath. In that last case, fixing the cause and the hidden damage matters more than the siding itself.
The right call depends on the age and condition of your siding, how many panels are affected, and what’s behind them. A hands-on look is the only reliable way to know.
When Should You Call a Siding Contractor?
Reach out if you see any of the following:
- Multiple cracked, buckled, or loose panels
- Water stains, dampness, or ice buildup near the roofline
- Siding that keeps coming loose in the wind
- Damage you can’t easily explain
If you’re comparing contractors, ask what they’ll inspect behind the siding, not just on the surface, and ask for a written scope of work. A good contractor will explain what they found and what it will take to fix it.
Winter doesn’t usually destroy vinyl siding overnight. It exposes weak points: brittle panels, tight fasteners, loose edges, and moisture getting where it shouldn’t. Cracks, buckling, ice dams, wind damage, and snow-related wear are the five problems we see most, and catching them early is what keeps a small repair from becoming a larger one.
If you’re not sure what you’re looking at, start small. Walk your house, take photos, and note what’s changed. If anything looks like it needs a professional opinion, Schedule a free consultation. And if you’d rather keep researching first, our learning center has more information that could help.
Topics: