• Identify critical signs that your roof needs repair or replacement, from missing shingles to water leaks
• Follow an easy, step-by-step guide for re-roofing your home, ensuring a safe and durable result
• Learn common roofing errors to avoid and why professional assistance may be your best option
Recognizing When It’s Time for a New Roof
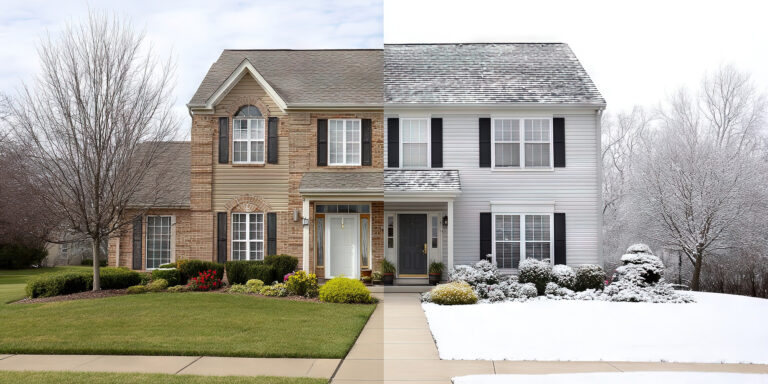
When it comes to maintaining your home, the condition of your roof should never be overlooked. Uneven or sagging areas, for instance, could be telltale signs that your roof’s structural integrity is compromised. Furthermore, if you notice shingles that are curled, cracked, or absent, it’s indicative that your roof’s lifespan is nearing its end. Ignoring these problematic signs can lead to more significant issues, such as leaks or even collapse, which underscore the importance of prompt assessments and repair.
Assessing for Leaks and Water Damage
Leaks are often the most apparent and troubling signs that your roof requires attention. Dark streaks or stains on your ceilings or walls suggest that water is seeping in and may point to a compromised roof. It’s also imperative to check your attic after a heavy rainfall or snowstorm in New Hampshire for any signs of water penetration. Left untreated, these leaks can lead to mold, rot, and a host of other issues that impact the health of your home and its inhabitants.
Preparing for Roofing Success
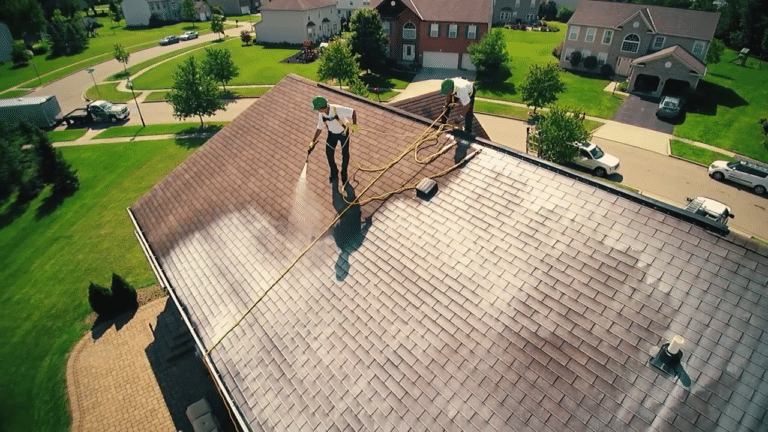
Before you consider how to roof a house, the cleanliness and readiness of your roofing area are vital. It’s critical to remove any old roofing materials, clear debris, and ensure the surface is completely dry. Additionally, paying attention to New Hampshire’s weather patterns is crucial; it’s best to plan such projects during dry seasons. Adhering to these preparatory steps not only facilitates a smoother roofing process but also ensures a solid foundation for your new roof.
Laying the Groundwork with Quality Materials
Embarking on a roofing project requires not just skill but also the right materials to ensure longevity. From the underlayment to the shingles themselves, each component plays a critical role in protecting your home. As a homeowner, investing in high-quality roofing materials forms the backbone of any durable roofing system and offers peace of mind against the harsh weather of New Hampshire. Sourcing your materials from reputable suppliers ensures that your roof will stand the test of time and the elements.
Ensuring Effective Water Drainage
A key yet often overlooked element in roofing is the installation of an adequate drip edge. This metal strip is vital for guiding rainwater into the gutters and preventing water from damaging the underlying components of the roof structure. The consequences of ignoring this can be severe, resulting in water intrusion, decay, and even foundation issues. When done correctly, a properly installed drip edge affords your home an additional layer of protection against water damage, safeguarding both your investment and your comfort.
Step 1: Prepare the Roofing Area
Ensure the roof deck is clean, solid, and dry. Remove any old shingles, debris, or nails. Check the weather forecast to avoid starting the project during rainy or snowy seasons in New Hampshire.
Step 2: Install Roofing Underlayment
Roll out the first layer of roofing underlayment in horizontal strips, starting from the bottom edge of the roof, and secure it with roofing staples. This water-resistant layer is crucial for weatherproofing.
Step 3: Apply Drip Edge
Install a metal drip edge along the bottom edge of the roof to help guide rainwater into the gutters, thereby protecting the roof from water damage.
Step 4: Lay Out Roofing Felt
Cover the underlayment with roofing felt, starting from the bottom up, overlapping each layer by at least 2 inches. Secure it with a staple hammer or nail gun.
Step 5: Install Roofing Shingles
Begin shingle installation from the bottom corner of the roof. Place the first shingle so it overhangs the edge, and nail it in place following the manufacturer’s instructions.
Step 6: Add Shingle Rows
Continue working your way up the roof, ensuring each new row of shingles overlaps the one below. Cut shingles to fit any irregular areas and to ensure straight edges along the roof’s peak.
Step 7: Cap the Ridge
Once you reach the top, install ridge cap shingles over the peak to prevent water from entering the home and provide a finished look.
Step 8: Inspect and Clean
Inspect your work for any gaps or misaligned shingles and seal them with roofing cement. Clean up any leftover materials, ensuring nails and debris are removed from the roof and surrounding area.
(Note: While this guide provides a general overview, roofing can be complex and dangerous. Homeowners should consider their experience level and safety before undertaking a roofing project, and professional help is recommended for those who are not skilled in roofing.)
Avoiding Common Roofing Mistakes
Even seasoned DIY enthusiasts can find roofing to be a challenging task, and oversight can result in costly, time-consuming errors. The key to a successful DIY roofing project lies not just in following the steps but also in steering clear of common pitfalls. Awareness of these pitfalls and having the right information can make the difference between a job well done and one that needs professional repair.
Mistake 1: Skipping the Weather Check
Do not underestimate New Hampshire’s weather; starting a roofing project when rain or snow is imminent can cause significant setbacks. Always consult the forecast to plan effectively and avoid any weather-related damage.
Mistake 2: Poor Material Storage
Leaving materials like shingles and underlayment exposed to the elements before they are installed can compromise their quality. Ensure materials are stored securely and dry until you are ready to use them.
Mistake 3: Inadequate Underlayment Overlap
An underlayment that isn’t overlapped properly can lead to leaks. Each strip should overlap the previous one by at least 2 inches, securing a watertight layer.
Mistake 4: Incorrect Drip Edge Installation
Installing the drip edge improperly can lead to water damage along the edges of the roof. Make sure it is fastened tightly and overlaps the gutter’s edge to effectively channel water.
Mistake 5: Misaligned Shingles
Beginning with a crooked first row of shingles sets the tone for the entire roofing job. Take your time to ensure the first row is perfectly straight as it guides the placement of all subsequent rows.
Mistake 6: Overdriving Nails
Nails driven too deeply can tear through shingles or compromise their hold. Nails should be flush with the shingle surface, not sunken in.
Mistake 7: Insufficient Roof Cleaning
Failing to clean the deck thoroughly can lead to issues like rot. Clear all debris and ensure the deck is completely dry before layering any materials on top.
By avoiding these common mistakes and adhering closely to the guidelines provided in the how-to steps, homeowners can ensure their DIY roofing efforts are successful and enduring.
Precision in Installation for Long-Term Durability
Precise shingle installation is key to ensuring your roof’s performance over time. Overlapping each row correctly as you move upward creates a tight seal against the elements, a crucial defense in New Hampshire’s diverse climate. Choosing a trusted residential roofing service can make all the difference in the world for having a roof that’s done right and built to last.
Final Touches and Quality Assurance
Completing your roofing project with the ridge cap installation is essential for full protection. This step prevents water from entering at the roof’s peak, which is critical during New Hampshire’s snow-prone winters. By following through with a thorough inspection and cleanup, you ensure that your roofing efforts maintain their integrity and aesthetic appeal.