• Discover key signs indicating it’s time to replace roof shingles
• Learn step-by-step how to install shingles and avoid common DIY mistakes
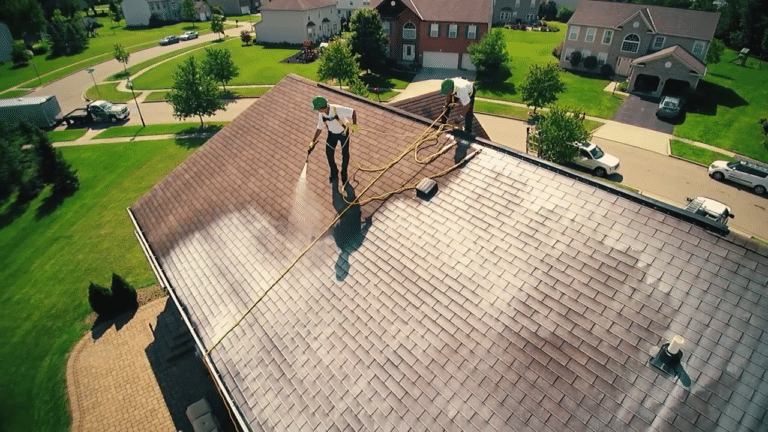
• Find out why professional installation is the safest option and connect with us on our social media page for the latest updates
Identifying Roof Wear and Tear
Your roof is your first line of defense against the elements, and it’s crucial to recognize signs that indicate the need for new shingles. If your shingles are curling at the edges, it’s a clear signal that they’re succumbing to weather damage and age. Similarly, if you spot missing shingles or notice daylight seeping through your attic, it’s time to consider a roof update.
Assessing Shingle Condition
Granule loss on shingles is an often-overlooked sign of roof deterioration. These granules protect the shingle from UV rays, and once stripped away, the shingles are vulnerable. Furthermore, water spots on your ceilings may mean the shingles are failing to protect your home from rain, a particular concern during Maine’s summer showers.
Spotting Structural Vulnerabilities
Take a moment to survey the state of your roof’s structure. A sagging roof deck indicates a significant problem, one that often accompanies long-term moisture penetration and rot. By proactively checking your roof’s condition, you can ensure that the process of installing new shingles is timely and prevents further damage to your home.
Gathering the Right Materials
Before you embark on the journey of shingle installation, it is essential to ensure you have everything you need. Not all shingles are made equally, and choosing ones that cater to the specific weather challenges of Maine’s summers is crucial. The right shingles are those that offer resilience against intense sunlight and resistance to sudden summer storms, which can take a toll on your home’s protection.
Preparing for the Project
Apart from shingles that suit your climate, a reliable set of tools will make your roofing project smoother and more efficient. A sturdy ladder, roofing hammer, or nail gun, roofing nails, and utility knife are basic necessities for this form of DIY project. You can find a comprehensive list of recommended tools and materials on our residential roofing services page, designed to guide you through the entire process for optimal results.
Step 1: Gather Your Roofing Tools and Materials
Before starting, ensure you have all the necessary tools and materials. You will need roofing shingles, a roofing hammer or nail gun, roofing nails, a utility knife, a tape measure, a chalk line, and a ladder. Additionally, select shingles that are appropriate for Maine’s summer weather conditions, considering factors such as heat resistance and durability against summer storms.
Step 2: Prepare the Roof Surface
Clear the roof surface of any debris, old shingles, or nails. Ensure the roof deck is solid, clean, and dry. Apply a layer of roofing felt to create a barrier against moisture. Secure it with staples or roofing nails.
Step 3: Install Drip Edging
Place drip edging around the edges of the roof, which helps to guide water away from the roof deck. This is a crucial step to prevent water damage, especially during Maine’s occasional summer rain showers.
Step 4: Lay Out a Starter Course of Shingles
Begin by laying the first course of shingles at the roof’s bottom edge. The starter course should hang off the edge slightly to ensure proper water runoff. Secure the shingles with roofing nails according to manufacturer instructions.
Step 5: Apply the First Row of Shingles
Start from the bottom corner, working your way up. Apply shingles in a staggered pattern to ensure proper coverage and water shedding. Remember to nail each shingle properly – generally four nails per standard shingle.
Step 6: Continue Laying Shingles
Progressively work your way up the roof, ensuring each new row overlaps the previous one by at least an inch. This overlapping pattern is essential for waterproofing your roof.
Step 7: Fit Shingles Around Obstructions
You’ll encounter vents or chimney areas where you need to measure and cut the shingles to fit around these obstructions carefully.
Step 8: Cap the Ridge
Once all the field shingles are installed, apply ridge cap shingles along the roof’s peak. This not only gives a finished look but also ensures the ridge is sealed against weather and moisture infiltration.
Steering Clear of Roofing Pitfalls
Embarking on a DIY roofing project brings a sense of accomplishment, but it is rife with potential pitfalls. Understanding the most common mishaps can save you time, resources, and stress. This knowledge is essential, particularly when dealing with the intricate nature of how to install roof shingles in the unique climate of Maine’s summer.
Mistake 1: Neglecting Proper Tool Preparation
Starting a roofing project without all the necessary tools within arm’s reach can lead to significant delays and frustration. Before you climb that ladder, double-check that you have everything from a roofing hammer to a chalk line. This prevention keeps you on the roof, working efficiently rather than climbing down frequently.
Mistake 2: Overlooking the Roof Deck Condition
A common oversight is neglecting a thorough inspection of the roof deck for moisture or damage before laying new shingles. An unsound base can lead to serious problems like rot, which compromises your roof’s integrity and necessitates costly repairs. Ensuring a clean, dry, and solid roof deck is a critical first step that cannot be skipped.
Mistake 3: Improper Drip Edge Installation
Many DIYers may not recognize the importance of correctly installing a drip edge, or they might install it after the shingles, which is incorrect. A drip edge should be the first line of defense against water damage and be installed before the shingles to guide water away from your roof deck effectively. This step is particularly vital in summer when Maine experiences heavy rain showers.
Mistake 4: Incorrect Shingle Overlapping
It’s easy to underestimate the importance of proper shingle overlapping, which can lead to leaks and water damage. Each row of shingles should overlap the one below it by at least an inch to ensure a waterproof barrier. This technique is crucial for the long-term health of your roof.
Starting Off on the Right Foot
The condition of your roof deck sets the foundation for your entire roofing job. A thorough inspection is vital to ensure it is free from moisture, rot, or structural damage. Get it dry and solid before layering on your new shingles to prevent future complications.
Ensuring Proper Water Deflection
To complement your well-prepared roof base, begin laying down drip edging to guide the runoff away from your house. This small but critical step helps prevent water damage during Maine’s varied summer weather. For further guidance on protecting your home from the elements, visit our roof materials page for expert advice on selecting the best options for your home.