• Learn how to identify and assess hail damage on your roof safely and efficiently
• Discover simple, step-by-step DIY solutions to repair minor hail damage and prevent further issues
• Understand when it’s time to call professionals for thorough inspection and long-term fixes
Identifying Hail Damage Before It Worsens
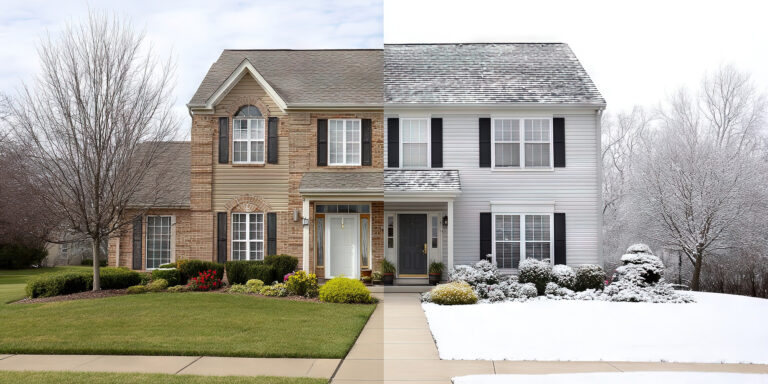
Vermont’s serene summer skies can occasionally unleash a volley of ice that rattles your rooftop and potentially damages your home. Before climbing up to inspect, you’ll want to look for signs of damage from the ground—missing shingle pieces or granules that signal your roof might have taken a hit. If your gutters are filled with shingle granules, this might indicate extensive wear from the hail, requiring immediate attention. Additionally, check your siding and windows for dents or cracks; often these are harbingers of what might await above.
Once you’ve observed the preliminary signs, it’s time for a closer look. Equip yourself with a sturdy ladder, good footwear, and ensure you’re accompanied for safety before ascending your roof. Focus on finding any discernible dents or impressions on the roofing material; these are usually the first indicators of hail impact. While every roof will show signs of general wear and tear, patterns of round, sunken areas are unique to hail strikes and warrant further investigation.
Catching hail damage early is about detail and diligence. As you clear away debris like leaves and twigs, keep an eye out for hidden damage or small imperfections in the roof that may have been exacerbated by the hail. Be meticulous in documenting each crack and crevice, as the smallest gap today can evolve into a serious leak tomorrow. Consider taking photos of the damage; these visual records are invaluable for insurance claims and for reference when executing repairs.
Executing Quick Fixes for Minor Hail Damage
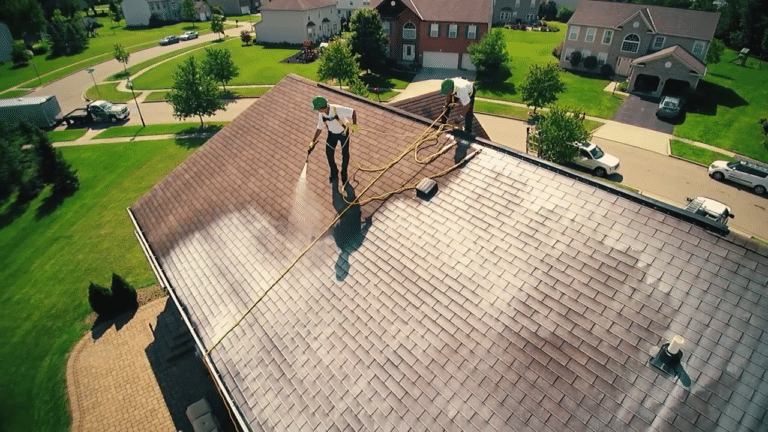
After thorough documentation, it’s time to transition from assessment to action. The first line of defense against minor hail damage is roofing cement, an accessible and effective solution for those smaller, troubling areas. A sizeable glob, applied with a steady hand, can fill in gaps and prevent water from sneaking into your home. However, exercise caution and avoid overapplication; excess cement can create more issues than it solves.
Shingle replacement is a more substantial repair but entirely manageable for the savvy homeowner. Locate any shingles that have been cracked or torn by the hail and gently remove them to make way for new, undamaged pieces. This not only boosts your roof’s resilience but also its overall aesthetic, keeping your home looking its best. Remember, a well-maintained roof is critical for preserving the longevity and value of your home.
Sealing and Testing for Leaks
If your inspection unveils minor leaks, don’t panic; they’re often fixable with a bit of DIY spirit. The application of a quality sealant can bridge the gap between minor annoyance and a full-blown roofing problem. Carefully apply the sealant under shingles or around flashing, pressing firmly to ensure a tight bind. This proactive measure can save a significant amount of time and money down the line, mitigating the need for professional intervention.
Finally, it’s crucial to test your handiwork and confirm you’ve nipped those leaks in the bud. A gentle water test imitating rainfall can expose any lingering weaknesses in your repairs. If you find water still slipping through, don’t hesitate to reapply your materials and double-check their alignment and adhesion. For guidance on the best materials to use for your specific type of roof, consult the helpful resources at Adam Quenneville’s roofing materials guide.
Step 1: Assess the Hail Damage
Start by safely using a ladder to get a clear view of your roof. Look for dents, broken shingles, or exposed roofing material. Take note of the size and extent of the hail damage.
Step 2: Clear Debris from the Roof
Remove any debris that the hail storm may have deposited on your roof—such as leaves, twigs, or accumulated dirt—to allow for a thorough inspection and prevent further damage.
Step 3: Document the Damage
Take clear photos of all affected areas. This documentation can be crucial for insurance purposes and to monitor any changes to the damaged spots over time.
Step 4: Apply Roofing Cement to Small Cracks
Apply a generous amount of roofing cement to fill in small cracks or holes. Use a putty knife to spread the cement evenly, ensuring it seeps into the damaged areas.
Step 5: Replace Damaged Shingles
Carefully remove any severely damaged shingles by lifting the edges and pulling out the nails. Slide a new shingle into place and secure it with roofing nails, ensuring it’s aligned with the surrounding shingles.
Step 6: Use Sealant on Minor Leaks
If you’ve spotted minor leaks, apply a roof sealant. Apply the sealant underneath the affected area and press down to ensure a tight seal, preventing water from seeping through.
Step 7: Conduct a Leak Test
Once all repairs are complete, gently hose down the roof to simulate rain and check for leaks inside the attic. Ensure all the fixes are holding up and adjust if necessary.
Step 8: Schedule a Professional Inspection
After performing quick fixes, it’s advisable to contact a roofing professional for an inspection, especially if you’re unsure about any damage. A specialist can offer a comprehensive assessment and suggest long-term solutions.
Common DIY Mistakes to Avoid When Fixing Hail Damage
DIY hail damage repair on your roof can be a fulfilling endeavor, but it’s fraught with potential pitfalls that can exacerbate problems rather than solve them. Understanding these missteps is crucial to avoid turning a quick fix into a costly error. Here we outline common mistakes that homeowners often make, why they occur, and how to steer clear of them during your DIY hail damage repair journey.
Mistake 1: Neglecting Safety Precautions
Not using a sturdy ladder or working alone are common errors. To avoid falls, always ensure your ladder is stable and have a buddy system in place.
Mistake 2: Inadequate Damage Assessment
Underestimating the scope of hail damage can lead to insufficient repairs. To prevent this, thoroughly inspect the entire roof surface, not just the most obvious areas.
Mistake 3: Overlooking the Need for Documentation
Many people forget to document the damage before proceeding with repairs. Always take photos for insurance claims and to track the progress of your repairs.
Mistake 4: Improper Use of Roofing Cement
Another common blunder is using too much or too little roofing cement. Apply it judiciously to ensure full coverage without creating bulges that can collect water.
Mistake 5: Incorrect Shingle Replacement
Improperly removing or failing to align new shingles can lead to further damage. Be meticulous with removal and placement, ensuring new shingles are secured properly.
Mistake 6: Insufficient Sealant Application
Applying too little sealant or missing the affected areas can result in persistent leaks. Apply enough sealant and press firmly to establish a watertight barrier.
Mistake 7: Incomprehensive Leak Test
Some stop the leak test too soon, not allowing enough time for leaks to show. Conduct a thorough test, giving water the chance to penetrate any weak points.
Mistake 8: Delaying Professional Evaluation
Postponing a professional assessment can lead to overlooking serious damage. If in doubt, don’t hesitate to contact a roofing expert for a thorough evaluation.
Leak Testing After Repairs
Once the immediate repairs are managed, a leak test should be next on your checklist. Simulate rain by gently hosing down the roof, paying close attention to the areas you’ve just repaired. This method will quickly reveal any spots that may still need sealing and allows you to address them before they lead to interior damage.
Don’t be discouraged if the test uncovers additional leaking areas. It’s common for hidden vulnerabilities to show up only during a water test. With patience and persistence, sealing these leaks properly will ensure the longevity of your repair work and provide peace of mind during the next downpour.
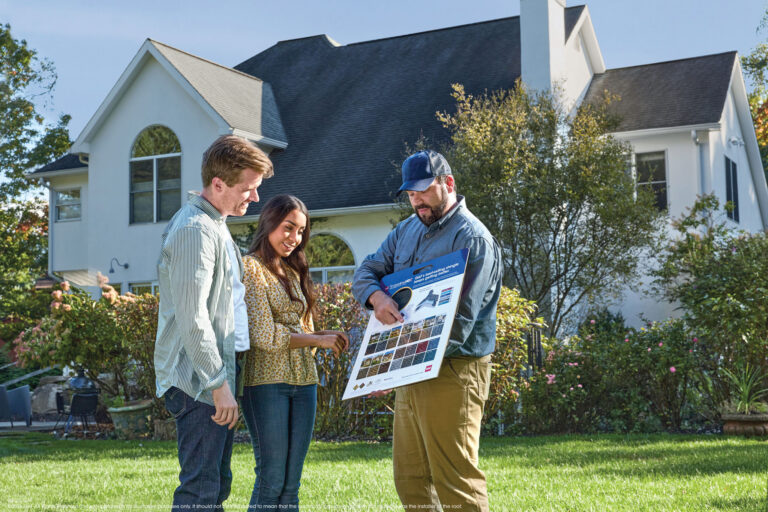
Understanding When to Call in the Experts
DIY repairs are a wonderful way to maintain your home’s roof, but some situations call for the expertise of professionals. If damage from hail extends beyond the surface, hidden problems can compromise your roof’s structural integrity. In such cases, it’s wise to schedule a professional inspection to ensure all damage is identified and appropriately addressed.
Consider bringing in seasoned professionals if you suspect the hail impact may have been severe. They possess the tools, knowledge, and experience to offer a comprehensive evaluation and repair strategy that goes beyond a temporary fix. Engaging services such as those offered by Adam Quenneville ensures that your home is in the most capable hands following hail damage.