• Discover easy and safe steps to eliminate moss from your roof without damaging shingles
• Learn important DIY safety tips and the best weather conditions for moss removal
• Find out how to prevent future moss growth and maintain a clean, durable rooftop
## Recognizing Warning Signs on Your Roof
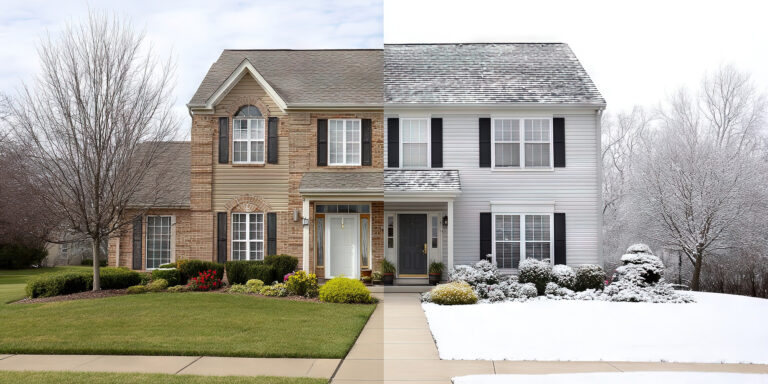
As summer unfolds across the verdant landscapes of Vermont, an uninvited guest, roof moss, can begin to subtly impose itself on our homes. Moss may seem harmless at a glance, but its presence on your roof signals potential harm to the structural integrity of your home. Spotting the early signs is crucial; look for green or black patches on the shingles, especially on the north-facing or shaded parts of your roof where sunlight is scarce. These patches are more than a cosmetic issue; they retain moisture and can lead to long-term damage to your roof.
Your vigilant eye should also note the texture and depth of the moss growth. Areas with thick, lush moss indicate prolonged exposure to moisture and shade, requiring immediate attention. If you observe moss that is easily flaking off or areas where tiles seem brittle or compromised, these are clear indicators that the underlying roofing material may already be affected. Ignoring these signals can lead to costly repairs down the line, as moss is capable of lifting shingles and allowing water to infiltrate your roof structure.
Lastly, assessing environmental factors can preemptively save you from a moss takeover. Overhanging trees not only provide excessive shade conducive for moss growth but also drop debris that further encourages moss to spread. Additionally, check for poor drainage or clogged gutters, as stagnating water is a delight for moss spores. Taking preventive measures, such as trimming tree branches that overshadow your roof and ensuring proper drainage, will help in keeping the roof moss-free. Remember, the goal is to maintain a roof that is both aesthetically pleasing and structurally sound.
Preparing for a Moss-Free Roof
Before diving into the moss removal process, it’s essential to gear up appropriately for the task ahead. Safety should be your foremost priority, so equip yourself with the proper attire and tools. Non-slip footwear, durable gloves, and safety goggles are non-negotiable items to protect you as you scale the heights of your home. A sturdy ladder and possibly a safety harness will anchor your efforts securely, affording you the stability needed to carry out the job effectively.
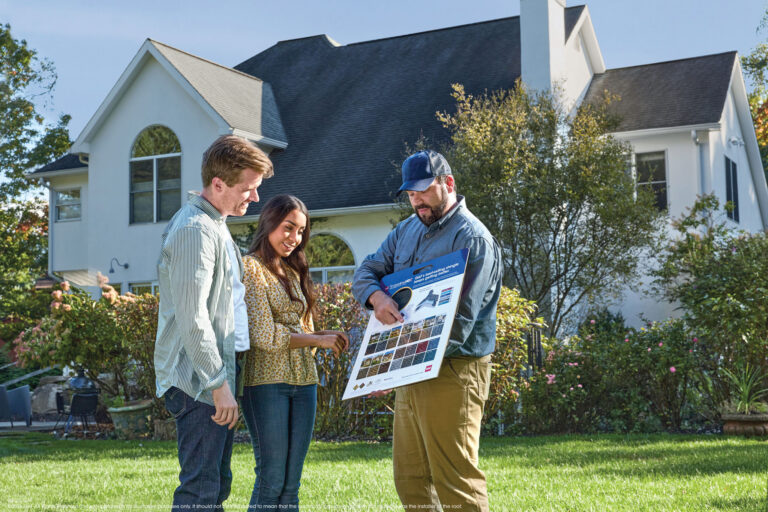
It may not strike as immediately obvious, but choosing the right day for moss removal is akin to setting the stage for success. An overcast day with no precipitation ensures the roof surface is dry, providing optimal conditions for both safety and efficacy. This is a perfect time to apply a moss-killing solution, as dry moss absorbs the treatment more thoroughly, allowing it to penetrate and eradicate the growth at its roots. If the task seems daunting, remember that professional help is just a click away at Adam Quenneville Roofing and Home Improvement, your trusted ally in roof maintenance.
Efficient Moss Removal Techniques
Once you’re up on the roof, begin with Step 4: Manually Remove Large Clumps of moss using a soft-bristled brush to sweep away the bulk of the growth. Executing this action with care will minimize damage to your roofing materials and prevent any unwanted tears or cracks. This manual removal is crucial as it clears the way for the moss-killing solution to reach the underlying layers of moss where the most stubborn spores reside. Refrain from using aggressive methods like power washing, as these can strip the granules off the shingles, reducing their lifespan.
Continuing to Step 5: Apply Moss-Killing Solution, it’s critical to cover every inch of mossy surface with your chosen treatment. Whether you opt for a commercial product specifically designed for moss removal or a homemade blend using household ingredients, adherence to the instructions will maximize its effectiveness. Allow it to linger and get to work; this patience paves the way for an easy rinse and a moss-free result. Your diligence in following Step 6: Let the Solution Set will culminate in a satisfying clean sweep as you progress to the final stages of restoring your roof’s aesthetic and structural excellence.
Step 1: Assess the Moss Situation
Carefully inspect your roof to determine the extent of the moss growth. Look for areas where it’s most prevalent and note any potential causes, such as overhanging tree branches or excessive shade.
Step 2: Prepare Your Safety Gear
Before you start, ensure you have the appropriate safety gear, including non-slip shoes, gloves, eye protection, and a secure ladder. Consider using a harness if you’ll be walking on the roof.
Step 3: Select a Dry, Overcast Day
Plan your moss removal for a day when the roof will be dry and the sun isn’t too intense, as moss is easier to remove when it’s brittle and the sun can accelerate the effectiveness of some moss-killing products.
Step 4: Manually Remove Large Clumps
Gently remove larger patches of moss by hand or with a soft-bristled brush, taking care not to damage the roofing materials. Avoid using a power washer as it can harm your shingles.
Step 5: Apply Moss-Killing Solution
Use a store-bought or homemade moss-killing solution (mix equal parts water and bleach or vinegar as a natural alternative) and apply it to the affected areas. Follow product directions if using a commercial moss killer.
Step 6: Let the Solution Set
Allow the moss-killing solution to sit on the moss as per the manufacturer’s instructions, usually around 20-30 minutes, to effectively kill the moss spores.
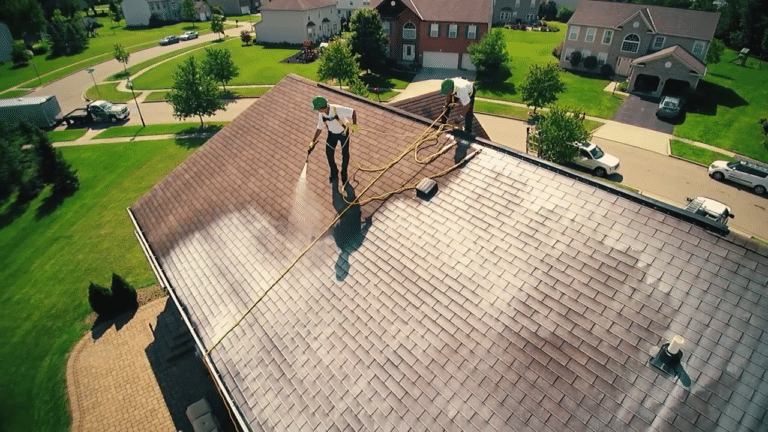
Step 7: Rinse the Roof
Thoroughly rinse the roof with water to wash away the dead moss and the moss-killing solution. Ensure that the runoff doesn’t harm your garden or the surrounding environment.
Step 8: Prevent Future Moss Growth
Implement preventative measures such as trimming overhanging branches, improving roof ventilation, or installing zinc or copper strips near the roof ridge which release moss-inhibiting metals when it rains.
Common Mistakes to Avoid When Removing Roof Moss
Embarking on a DIY roof moss removal can be a practical and satisfying project when done correctly. However, it’s easy to make errors that compromise the condition of your roof or your personal safety. To ensure that you tackle the moss effectively while preserving your roof’s integrity, let’s review the common mistakes to avoid.
– Mistake 1: Neglecting Roof Inspection
A common error is jumping straight into moss removal without a proper inspection. This oversight can cause you to miss larger problem areas or underlying causes of moss growth. To prevent this mistake, thoroughly follow Step 1: Assess the Moss Situation by inspecting your roof methodically to ensure all moss-affected areas are identified before treatment.
– Mistake 2: Disregarding Personal Safety
Another frequent misstep is underestimating the importance of safety gear. Skipping non-slip shoes, gloves, or eye protection can lead to accidents. Always prepare your safety gear as advised in Step 2: Prepare Your Safety Gear to protect yourself during the moss removal process.
– Mistake 3: Choosing the Wrong Weather for Treatment
Applying moss-killing solutions during damp, rainy, or overly sunny weather is ineffective and can be dangerous. Adhering to Step 3: Select a Dry, Overcast Day ensures the product works effectively and you maintain a safe footing on the roof.
– Mistake 4: Using a Power Washer
The excessive force of a power washer can damage shingles, leading to leaks and higher repair costs. Stick to the recommendation in Step 4: Manually Remove Large Clumps and use a soft-bristled brush to gently remove moss without harming the roofing material.
– Mistake 5: Incorrect Application of Moss-Killing Solution
Improperly applied moss-killer can lead to ineffective treatment and regrowth. Ensure you’re using the right concentration and covering all the mossy areas by following the guidelines in Step 5: Apply Moss-Killing Solution.
– Mistake 6: Inadequate Waiting Time After Application
Not allowing enough time for the solution to work is another common error. Respect the waiting period stated in Step 6: Let the Solution Set for optimal effectiveness against moss spores.
– Mistake 7: Insufficient Rinsing
Failing to rinse off the dead moss and solution carefully can lead to residue buildup and further complications. Carry out Step 7: Rinse the Roof meticulously to remove all remnants thoroughly.
– Mistake 8: Omitting Preventative Measures
Finally, neglecting to take preventative measures after moss removal invites a return of the troublesome plant. Implement the strategies mentioned in Step 8: Prevent Future Moss Growth to keep your roof in top condition and moss at bay.
Finalizing the Moss Removal Process
Once the moss-killing solution has had sufficient time to work its magic, it’s time for Step 7: Rinse the Roof. A thorough rinse using water will wash away both the dead moss and any residual treatment solution. It’s paramount to control the runoff; ensure it is directed away from sensitive areas like gardens to prevent any potential environmental harm.
Proactive Measures for Moss Prevention
The adage “Prevention is better than cure” perfectly captures the essence of Step 8: Prevent Future Moss Growth. After you’ve cleared the moss, take proactive steps to discourage its return. Incorporating preventative strategies, such as zinc strips at the roof’s peak, can effectively ward off new moss growth by releasing metal ions that inhibit moss development. This, coupled with regular roof maintenance and inspections, can significantly extend the lifespan of your roof.
Remember, maintaining a roof goes beyond just aesthetics; it’s about preserving the security and value of your entire residence. If you’re unsure about the best materials for deterring future moss growth, Adam Quenneville Roofing and Home Improvement offers expert advice on a wide selection of roofing materials tailored to the unique challenges of Vermont’s climate. Take the steps needed today to ensure your roof remains strong, functional, and moss-free for years to come.