• Discover a step-by-step guide on installing a metal roof, ensuring home protection
• Learn to avoid common DIY metal roofing mistakes and choose suitable materials
• Get professional tips for precise measurements and appropriate tool preparation
Recognizing the Call for a Metal Roof Upgrade
When the ceiling above whispers of wear, it’s time to look up and heed the tale your roof tells. Persistent leaks, a symphony of drips that play to the rain’s tune, are the clearest indicators of a compromised shelter. Cracked tiles, rusting sheets, and a color once vivid now faded by the sun’s relentless gaze all speak of aging woes. Trust the wisdom of New Hampshire’s homes and know that a roof’s silent endurance is finite without timely care.
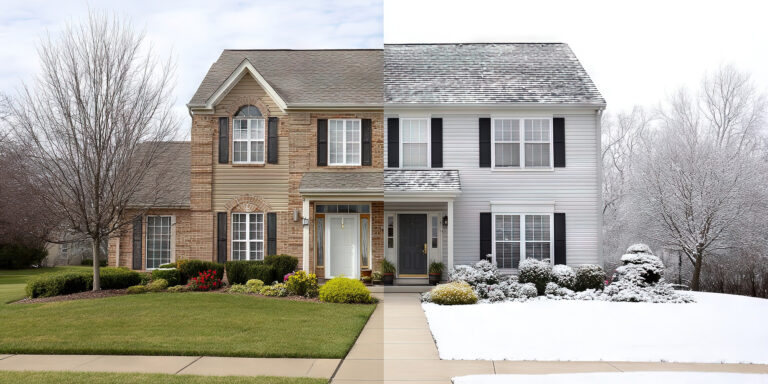
In the throes of New Hampshire’s vivid seasons, a roof must stand sentinel against summer’s swelter and winter’s icy grip. Distorted or bent panels, strained by the weight of snow or battered by hail, suggest metal that’s moved beyond its prime. Survey for sagging trusses and check the attic for signs of daylight peeking through where it shouldn’t, as these are the subtle whispers of impending necessity. It’s a call to action, a cue to safeguard the dome that defends your cherished haven.
Embracing a metal roof offers a renewing breath to both home and hearth with the promise of resilience and economy. Before commencing your journey through the installation steps, a prudent pause to assess is warranted. Consider energy efficiency, opting for reflective metal materials in light hues that repel the summer’s warmth, cutting cooling costs. And when aesthetic appeal pairs with the assurance of durability, your choice in roofing is not merely pragmatic but a stroke of living art upon your domicile.
Embarking on Installation: The First Strides
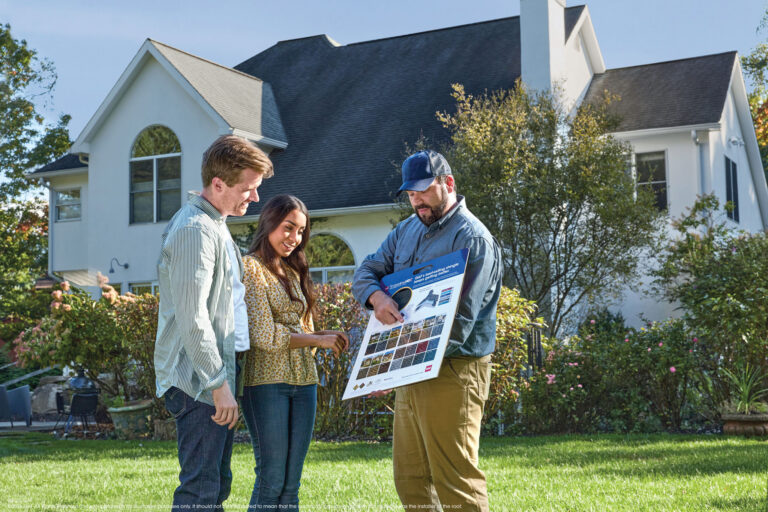
The journey to a sturdy and stylish metal roof begins with a choice that melds function with allure. Opt for a material that stands unyielding against New Hampshire’s climate, a shield against the sky’s caprice. The diversity in metal roofing materials invites a careful consideration of their unique benefits; from the sustainable coolness of aluminum to the rustic charm of copper, each selection promises a particular set of strengths. This pivotal first choice sets the stage for a roof that not only protects but also enhances the home’s energy efficiency and visual grace.
With the decision sealed, the tape measure becomes your next companion, a partner in the dance of precision and preparation. Accurate measurements are the blueprint of success, ensuring that materials are plentiful and waste is scant. Navigating the geometry of one’s own roof, considering overhangs and pitch, may seem a daunting task, but it lays a bedrock of certainty. For those unsure, seeking the guidance of professionals, like the team at Adam Quenneville’s Metal Roofing service, can turn any guesswork into an assured strategy.
Preparation and Precision: Laying the Groundwork
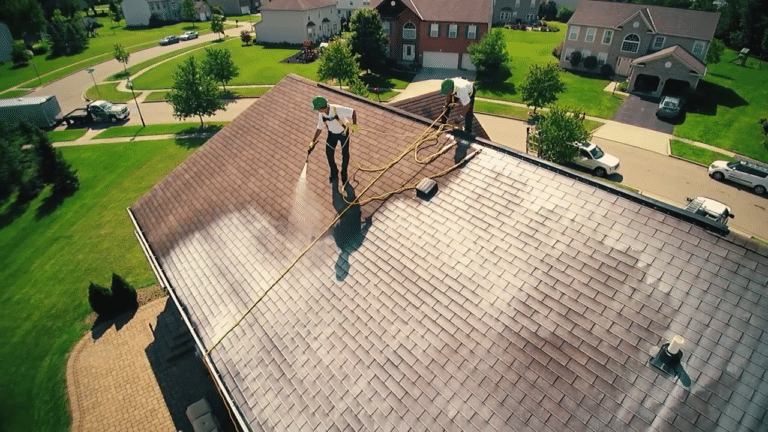
Prior to panels and screws making their debut, the stage must be impeccably set for their arrival. The tableau of your rooftop requires a cleansing from old shingles, a sweep from debris of bygone days. Starting anew on a clean slate ensures that the metal roof will be installed atop a dependable canvas, preventing issues that could lurk unnoticed below. The roof’s foundation must be as stalwart as the metal that will crown it, ensuring a partnership of strength and longevity.
As the old saying goes, ‘well begun is half done’, and nowhere is this truer than in the meticulous application of underlayment. A protective layer, the unsung hero beneath the metal panels, it’s a cloak of water resistance perfectly suiting the often unpredictable New Hampshire weather. The meticulous rollout of these sheets is a bulwark against moisture, a barrier securing the roof’s inner sanctum. With underlayment in place, the true artistry of metal roofing installation begins, promising a fortress of comfort above your head.
Step 1: Choose the Right Type of Metal Roofing
Begin by selecting a metal roofing material suitable for New Hampshire’s weather. Consider factors like durability, energy efficiency, and aesthetic appeal.
Step 2: Measure Your Roof Area
Accurately measure the roof to calculate the amount of material needed. Factor in roof pitch, additional length for overhangs, and waste material.
Step 3: Gather Necessary Tools and Safety Equipment
Prepare the tools required for installation like metal cutters, roofing nails, and a hammer. Safety equipment such as gloves, safety glasses, and a harness are essential.
Step 4: Prep the Roof Surface
Ensure the roof surface is clean, dry, and free of old roofing materials. Inspect for and repair any damages that could affect your new metal roof’s performance.
Step 5: Install Underlayment
Roll out and secure roofing underlayment across the entire surface to create a water-resistant layer under the metal panels.
Step 6: Start Panel Installation
Begin at the edge of the roof, aligning the first metal panel precisely. Secure it in place following manufacturer’s instructions and local building codes.
Step 7: Secure the Metal Panels
Overlap panels as required and fasten them using appropriate screws or nails, ensuring each panel is flat against the roof structure for maximum stability.
Step 8: Apply Finishing Touches
Install the ridge cap, flashings around chimneys, vents, and other penetrations to waterproof and complete the look of your new metal roof.
Avoiding Common Pitfalls in Metal Roof Installation
Diving into a do-it-yourself metal roof installation can be a rewarding challenge, but it’s essential to steer clear of typical missteps. Misjudging these steps can lead to a compromised roof and increased costs. Here’s what experienced DIYers have learned to avoid, ensuring a smooth and successful metal roof installation.
- Mistake 1: Choosing the Wrong Material – Not all metals are equal, especially in New Hampshire’s diverse climate. Selecting an inappropriate material can lead to rapid deterioration. Always choose a metal that is suited to local weather conditions, balancing durability with efficiency.
- Mistake 2: Inaccurate Measurements – Underestimating the quantity needed for your roof can interrupt the workflow, leading to delays. Be meticulous with measurements, considering all architectural features and potential waste to avoid this hiccup.
- Mistake 3: Inadequate Tool Preparation – Starting without the right tools, or lacking proper safety gear, can be dangerous. Before you begin, ensure all necessary tools are on hand and that safety equipment is available to protect against potential hazards.
- Mistake 4: Neglecting Surface Preparation – Skipping the step to clean and repair the existing roof surface can undermine the new installation. A clean, dry, and stable surface is critical for a long-lasting and effective metal roof. Assess the area thoroughly for any underlying issues.
- Mistake 5: Improper Underlayment Application – The underlayment is the unseen champion of roofing; an incorrect installation can lead to leaks. Secure this layer effectively to ensure a moisture-resistant and durable base for your metal panels.
- Mistake 6: Misaligning Panels – Even minor misalignment can cause significant problems later on. Start your panel installation at the edge of the roof and check the alignment carefully before securing each piece to safeguard against future issues.
- Mistake 7: Overlooking the Fastening System – Using incorrect fasteners, or poor fastening techniques can diminish the metal roof’s integrity. Check the manufacturer’s instructions closely and use the recommended screws or nails for secure and stable metal panels.
- Mistake 8: Skipping Finishing Details – The final waterproofing elements like ridge caps and flashings prevent water penetration and complete the roof’s appearance. Install these components with precision to ensure a fully functional and aesthetically pleasing outcome.
Securing the Framework: The Art of Panel Alignment
The first metal panel claims its territory, signaling a union between vision and reality. Alignment is paramount; a fraction of a degree today can spell inches of error, a cascade of missteps down the roof’s expanse. Securing this pioneer panel in harmony with the manufacturer’s guidelines and local codes is the cornerstone of your new roof’s integrity.
Safety and precision march hand in hand, with each panel’s placement a testament to craftsmanship. The clatter and clang of metal being fastened is the rhythm of progress, each screw and nail a note in a symphony of durability. For those seeking the peace of mind offered by excellence in service, Adam Quenneville’s team is ready to assist with expert residential roofing installation.
Topping Off: The Finishing Touches
With each panel secured, the roof begins to speak of completion, of shelter renewed. Flashings become your guardian against the elements, a silver trim around the roof’s various penetrations. Like the final strokes of an artist’s brush, these details ensure that beauty is matched by a roof’s watertight resolve.
The ridge cap crowns your endeavor with unassuming grace, the final seal against the mercurial New England weather. It’s a culmination of careful planning and meticulous labor, a gesture that says this house is both a home and a fortress. With a metal roof installed, your residence stands reborn, a model of efficiency and elegance against New Hampshire’s diverse skies.