• Identify the signs of siding damage caused by summer heat such as warping, fading, and cracking.
• Learn practical steps for DIY siding repair, including inspection, cleaning, and patching techniques.
• Understand when to seek professional help for siding repair and how to maintain siding to prevent future damage.
Understanding Siding Wear and Tear
As the balmy days of summer transition into the crisp fall season, it’s an ideal time for homeowners to inspect their siding for any adverse effects of prolonged heat exposure. Vermont’s particularly intense summer rays can warp and weaken even the highest quality siding materials. Left unchecked, these seemingly minor blemishes can develop into serious concerns, compromising the safety and energy efficiency of your home. Therefore, identifying early signs of deterioration is essential in maintaining your home’s exterior.
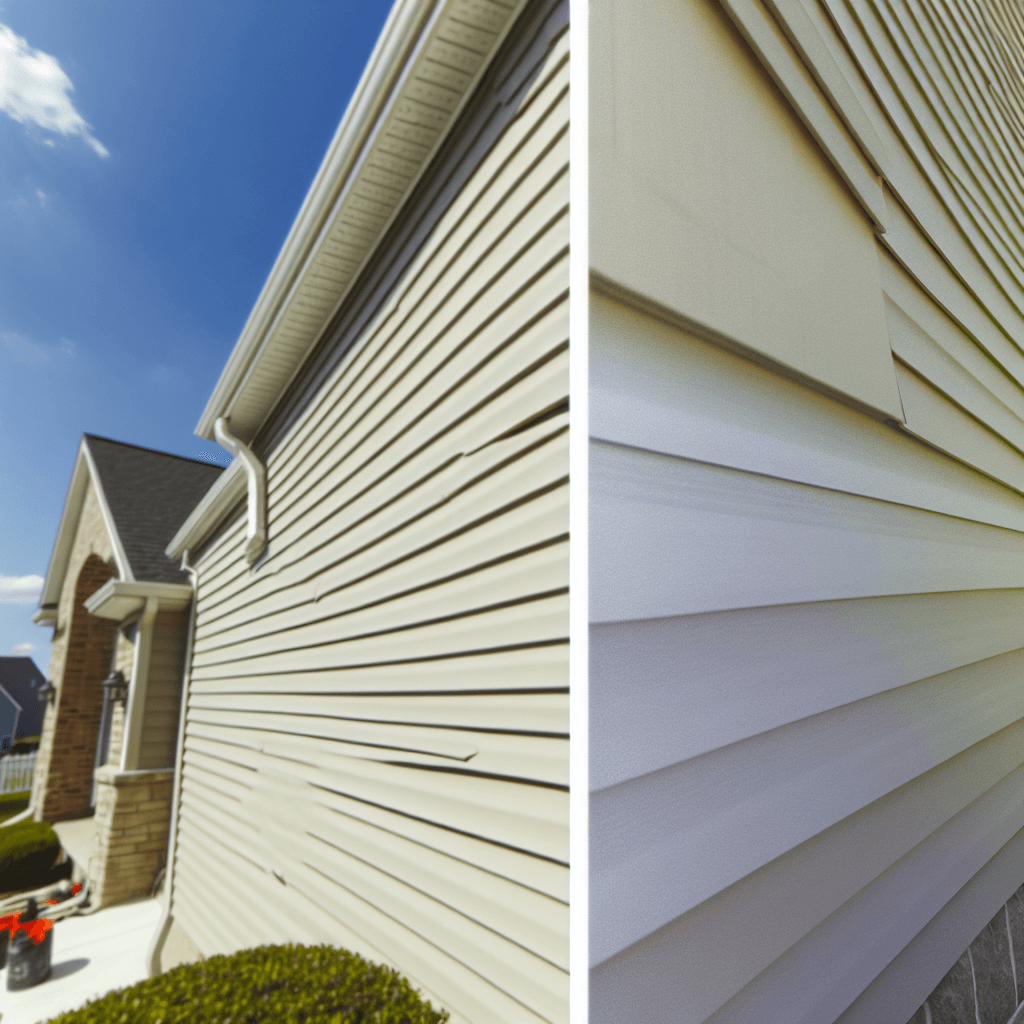
During your inspection, be on the lookout for panels that appear warped or have begun to melt—an unmistakable sign of siding wear and tear after summer heat. Discoloration and bubbling are also tell-tale signs that your siding has taken a beating from UV rays and high temperatures. Beyond the superficial damage, such changes can also indicate deeper structural issues, like compromised insulation or water seepage, which could lead to more extensive repairs if not addressed promptly.
Once you have made a thorough assessment of your siding’s condition, evaluate the severity of any damage you discover. Is the wear limited to a few isolated areas, or does it seem to be a widespread issue across your home’s exterior? This step is crucial as it informs the scale of your repair or replacement project. Remember that while minor damage might be manageable for a savvy DIY’er, extensive problems may call for the expertise of a professional to ensure your home remains well-protected against the elements.
Preparing Your Home for Repairs
Before diving into repairs, it’s crucial to clean your siding thoroughly to ensure that any restorative work has a solid foundation. Dirt, debris, and the remnants of summer storms can all obscure damage and complicate repair efforts. A gentle but thorough wash can reveal the full extent of any damage and is a necessary preamble to more intensive work. Once cleaning is complete, you’re prepared to move forward with clear visibility on the state of your siding.
Gathering your repair materials takes prudent consideration, as matching new siding to your existing setup is key for both aesthetics and structural integrity. You’ll need basics like replacement panels, which should be chosen to match your current material and color, as well as tools like a hammer, nails, and caulk. When you’re ready to proceed, remember that every home deserves professional solutions; explore Adam Quenneville’s roofing repair services for expert advice and high-quality materials. Preparing diligently for the repair process is an investment in the longevity and beauty of your home.
Step 1: Identify the Signs of Siding Wear and Tear
Start by examining your home’s siding for any signs of damage that may have occurred due to the summer heat. Look for warping, melting, discoloration, or bubbling, as these are clear indicators that the siding has been affected by high temperatures.
Step 2: Assess the Extent of Damage
Once you have identified potential problems, determine the extent of the wear and tear. Check whether the damage is isolated to a few panels or if it’s widespread, as this will guide your approach to repair or replace.
Step 3: Clean the Affected Areas
Before making any repairs, clean the siding thoroughly. Remove any debris, dust, or dirt buildup that could interfere with your inspection or the repair process.
Step 4: Prepare for Repair
Gather the necessary tools and materials for siding repair, such as replacement panels, nails, a hammer, caulk, and paint if needed. Ensure you’re matching the new materials to the existing siding for consistency.
Step 5: Remove Damaged Panels Safely
Carefully remove any damaged panels, taking care not to damage the underlying structure or adjacent siding. This step may require the assistance of a professional if the damage is extensive.
Step 6: Install New Siding Panels
Following the manufacturer’s instructions, install the new siding panels. Ensure they are securely attached and that there’s no room for moisture to seep through, as this could lead to further damage.
Step 7: Seal and Protect
Apply caulk around the new panels to seal any gaps and prevent water infiltration. Consider adding a heat-reflective coating or paint to protect the new siding from future heat damage.
Step 8: Conduct Regular Maintenance
To prevent future wear and tear, establish a routine maintenance schedule. Regularly inspect your siding for signs of damage, clean it to prevent build-up, and make repairs as soon as issues arise to preserve the lifespan of your siding.
Avoiding Common DIY Siding Repair Mistakes
When deciding to tackle siding repairs, homeowners often embrace the challenge with enthusiasm, but without proper guidance, this can lead to crucial oversights. Avoiding common repair mistakes not only ensures a more polished finish but also preserves the integrity of your home’s exterior. Here are some frequent missteps that can derail your DIY siding project and how to navigate around them.
Mistake 1: Ignoring Manufacturer’s Instructions
A common mistake is not following the specific guidelines provided by siding manufacturers. This oversight can lead to improper installation, which may result in loose panels or even more extensive damage over time. To prevent this, always read and adhere to the manufacturer’s manual before beginning work.
Mistake 2: Poor Damage Assessment
Some DIYers underestimate the extent of the siding damage, failing to realize that heat can affect the structure beneath the siding. Always perform a thorough inspection and assess for any underlying issues to avoid superficial repairs that don’t address the root of the problem.
Mistake 3: Inadequate Surface Preparation
Skipping the cleaning of the affected areas before starting the repair is a recipe for future problems. Dirt and debris left on the surface can prevent new materials from adhering properly, so ensure you remove all residue and allow the area to dry completely before proceeding.
Mistake 4: Mismatching Materials
Using replacement siding that doesn’t match your current material can compromise both the appearance and functionality of your home’s exterior. Take the time to source the exact matching materials or, if necessary, consult with a professional to source the proper panels.
Mistake 5: Neglecting Safety Precautions
Removing panels without the proper safety measures can lead to injury or further damage to your home. Make sure to use the right tools and, when in doubt, don’t shy away from calling in a professional for assistance.
Each of these common mistakes can be avoided with careful planning and diligence. A successful DIY repair project requires a steady hand, a keen eye for detail, and patience to ensure your home remains a beacon of beauty and safety season after season.
Sealing and Protecting Your Siding
After the new siding panels are installed, the crucial step of sealing begins. Applying caulk around edges and between panels secures them in place, preventing the future infiltration of water and pests. This process not only ensures the long-term durability of your siding but also contributes to the overall energy efficiency of your home.
Considering the diverse climate of Vermont, it’s wise to think ahead about seasonal changes. Adding a layer of heat-reflective paint or similar coating can provide an additional defense against future heat waves. For a complete siding solution that covers installation to finish, trust the expertise found at Adam Quenneville’s residential siding services, ensuring the best possible care for your home’s exterior.