• Learn to spot warning signs that indicate your roof needs an inspection.
• Find out how to choose the best time and professional for your roof inspection.
• Discover essential steps to prepare your home for a thorough roof inspection.
Recognizing Roof Trouble: Early Warning Signs
Prior to delving into the intricacies of preparing for a comprehensive roof inspection, identifying the troublesome signs that necessitate such an examination is crucial. Homeowners should be vigilant for curled or buckled shingles, a telltale symptom of aging or heat damage, which could potentially lead to leaks. Another glaring red flag is the presence of shingle granules in gutters; akin to dandruff, this indicates your shingles are wearing thin, compromising your home’s defense against the elements. Keep an eye out for water stains or peeling paint on ceilings or walls within your home, as they can signal an existing leak emanating from a faulty roof.
Preparing for Professional Scrutiny
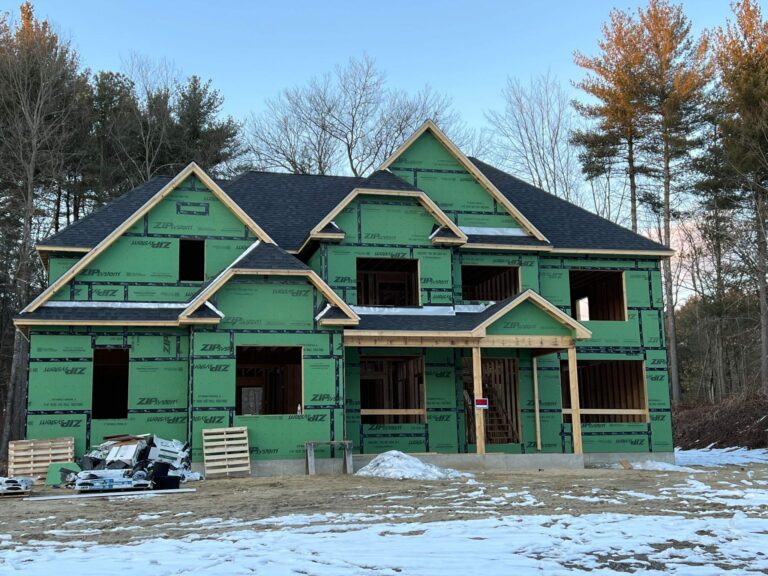
After spotting any initial signs of damage, the next logical step is to comprehend what a thorough roof inspection entails. Prospective Vermont dwellers should schedule this vital preventative maintenance in the summer months, capitalizing on the clear skies and absence of snow to ensure an unobstructed evaluation. Bear in mind that a comprehensive roof inspection is not merely a cursory glance; it delves deeper into the health of your roofing materials, structure, and workmanship. This preventative measure unearths both immediate and latent concerns, safeguarding your home against the unpredictable New England weather.
Selecting the Right Expert for Your Roof
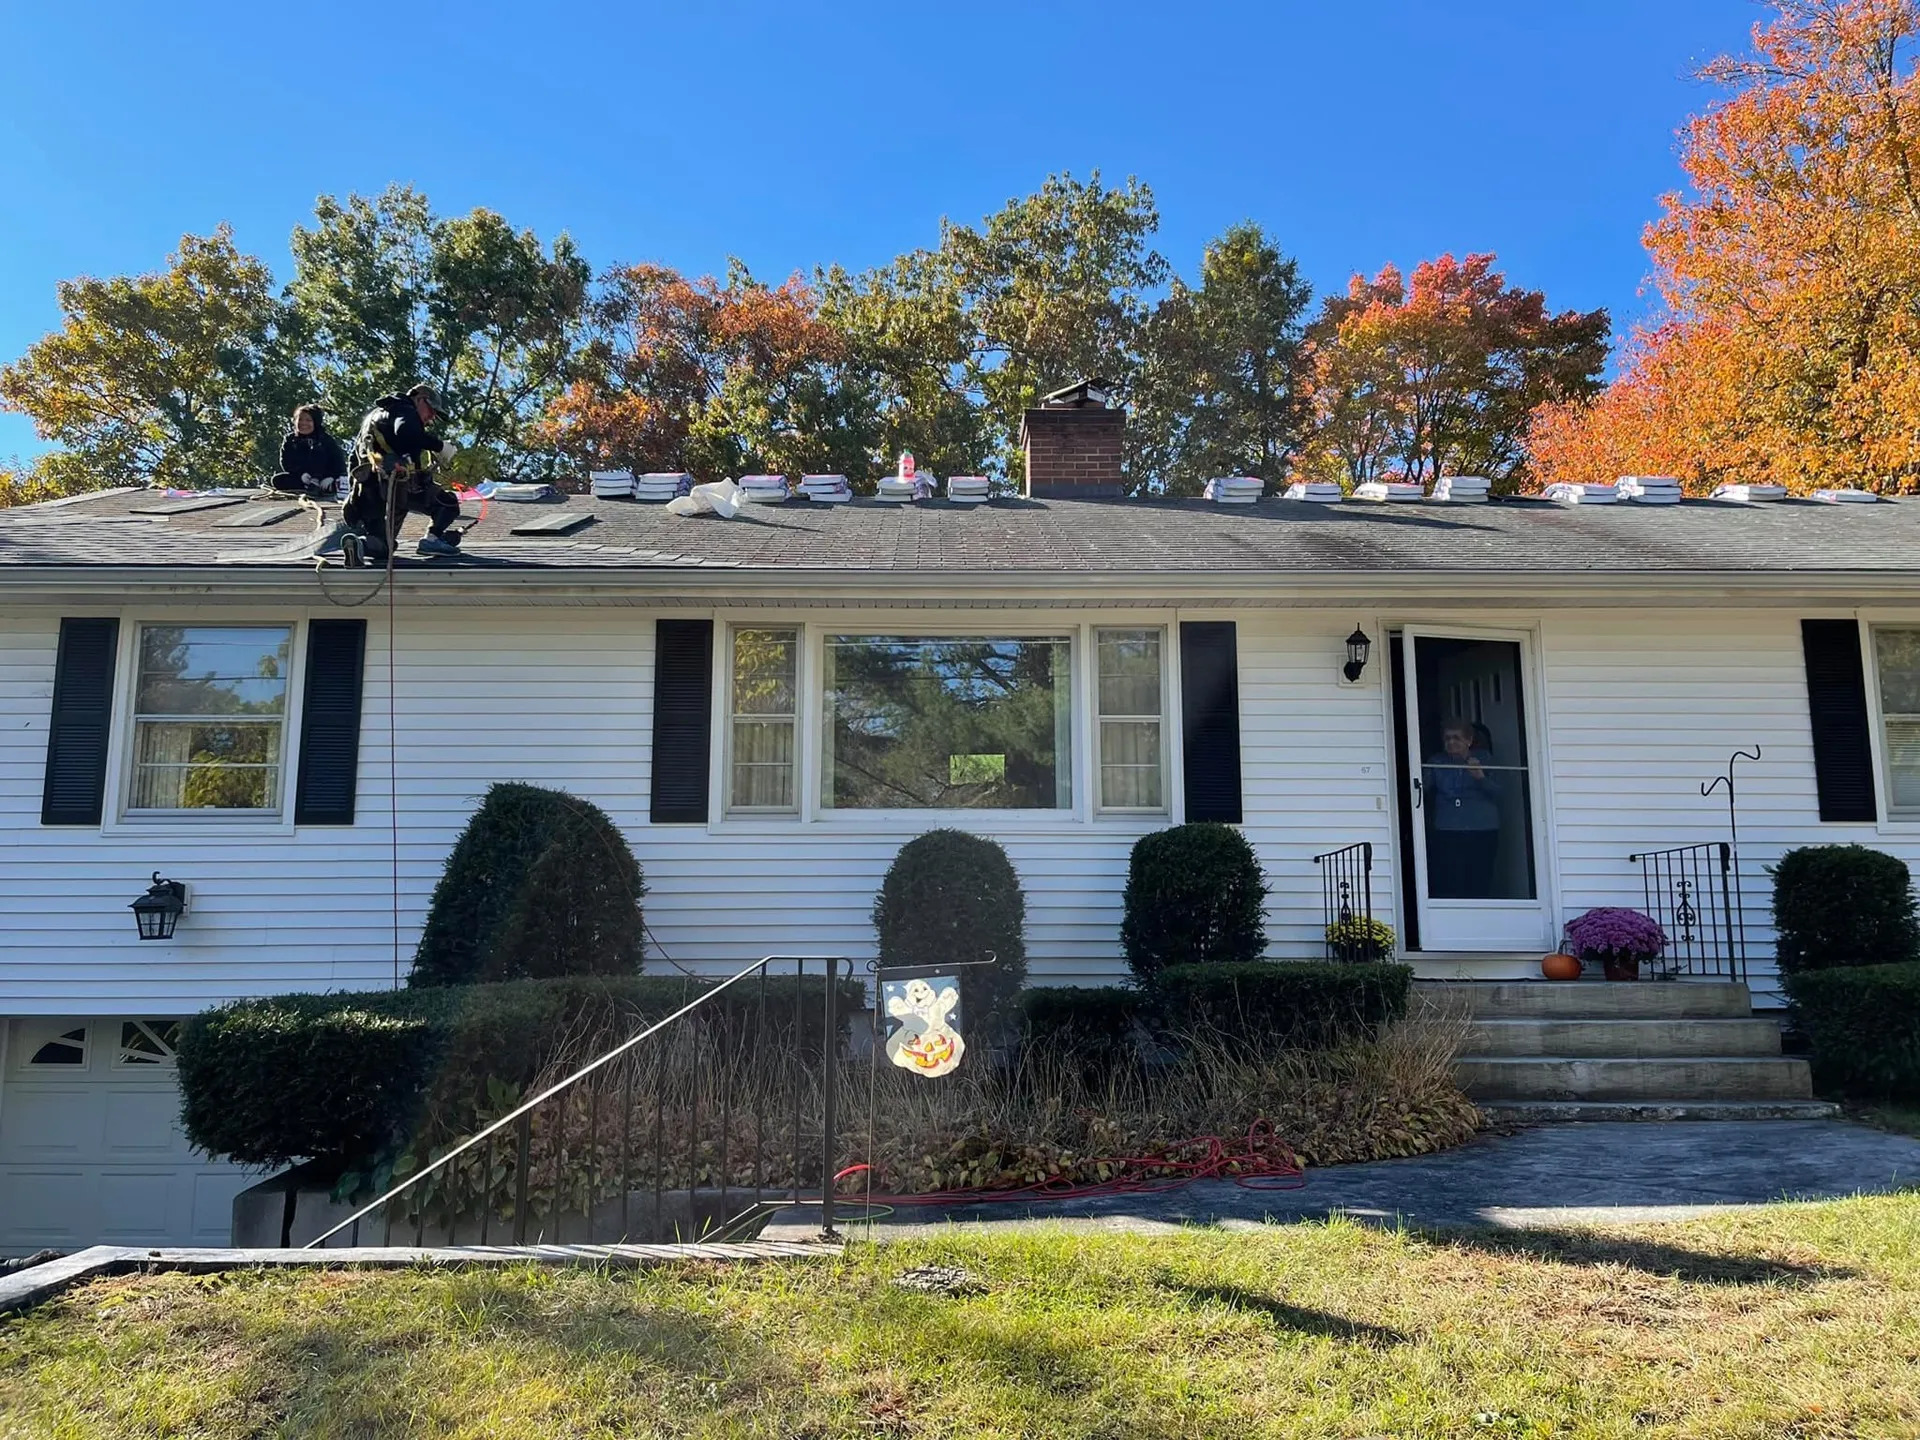
Committing to a roof inspection involves more than just marking a date on the calendar; it requires selecting a seasoned inspector. In Vermont, renowned for its snowy winters and lush summers, finding a roof inspector with local experience is paramount – an expert who can discern between standard wear and weather-induced damage. Always opt for an inspector with stellar credentials and robust client testimonials, ensuring a dependable reflection of their expertise. Initiating your journey with a qualified professional not only guarantees a meticulous examination but also peace of mind, knowing that your home’s crowning glory is in skilled hands.
Setting the Stage for Inspection Success
When preparing your home for an inspector’s visit, the details can make a significant difference. Clearing debris from your gutters is not just about tidiness; it allows the expert to assess water flow and gutter integrity, critical aspects of a well-maintained roof. Make sure that the path to your roof is unblocked, with ladders, furniture, or vehicles moved aside to provide unhindered access for a thorough and efficient inspection. Taking proactive steps not only facilitates a smoother inspection process but also reflects your commitment to the upkeep of your property.
Prioritizing Key Inspection Areas
A professional inspector’s evaluation is comprehensive, encompassing more than just the surface shingles. An inspector’s keen eye will scrutinize for signs of water damage, which could herald more significant structural issues, and evaluate the condition of roof flashing—a crucial barrier against water intrusion. Ventilation and insulation are also on the checklist, as poor roofing infrastructure in these areas can lead to costly energy inefficiencies. By understanding these focal points, homeowners can gain valuable insights into the health and longevity of their roofing system, enabling informed decisions about maintenance and repairs.
Step 1: Understand What a Roof Inspection Entails
Begin by understanding what to expect from a comprehensive roof inspection. This includes a thorough examination of your roof’s structure, materials, and workmanship to identify current problems and potential future issues.
Step 2: Choose the Right Time of Year
Plan your inspection during summer in Vermont, when the weather is conducive, and inspectors can safely evaluate your roof without the obstructions of snow or ice.
Step 3: Select a Qualified Roof Inspector
Research and select a qualified roof inspector with experience in Vermont’s specific roofing challenges. Look for licensed professionals with good reviews and a solid reputation.
Step 4: Prepare Your Home
Prepare your home for the inspection by clearing any debris from the gutters and ensuring easy access to the roof. Move any furniture or vehicles that could obstruct the inspector’s access.
Step 5: Know the Key Inspection Areas
Understand that the inspector will check for damaged or missing shingles, signs of water damage, the condition of roof flashing, and proper ventilation and insulation.
Step 6: Accompany the Inspector
If possible, accompany the inspector during the assessment. It’s a great opportunity to ask questions, understand potential issues, and learn about necessary maintenance.
Step 7: Review the Inspection Report
Once the inspection is complete, thoroughly review the detailed report provided by the inspector. It should cover all the elements of the roof, note any concerns, and recommend actions.
Step 8: Plan for Maintenance or Repairs
Based on the inspection findings, plan for any necessary repairs or ongoing maintenance. Prioritize urgent issues to avoid damage and costly future repairs, and consider a routine maintenance schedule to prolong your roof’s lifespan.
Avoiding Common Roof Inspection Pitfalls
Tackling roof maintenance can be a challenging DIY project, and while it’s admirable to take charge of your home’s upkeep, there are typical blunders that many homeowners fall victim to. The desire to swiftly fix problems or cut corners financially can lead to further damage or even personal injury. Awareness and avoidance of these common mistakes is crucial to ensuring a thorough and effective roof inspection and maintenance routine.
Common Mistake 1: Skipping Professional Inspections
Many homeowners believe that visually checking their roof from the ground is sufficient. However, missing subtle signs of damage can lead to severe issues down the line. It’s essential to involve a professional who can perform an extensive inspection, ensuring nothing is overlooked.
Common Mistake 2: Neglecting Seasonal Timing
Attempting an inspection during the cold, snowy months in Vermont can be dangerous and ineffective. Roof problems are best diagnosed in the summer when the roof is clear and safe to navigate. Waiting for the right season helps prevent weather-related mishaps and yields more accurate results.
Common Mistake 3: Inadequate Preparation
Homeowners often fail to prep their homes for an inspection, which can hinder the inspector’s ability to conduct a comprehensive review. Ensure the area around your home is clear, gutters are clean, and access to the roof is unobstructed. This enables the inspector to perform a more detailed and rapid assessment of the roof.
Common Mistake 4: Ignoring the Inspector’s Expertise
Choosing to disregard the advice of your inspector is a costly misstep. Treat their findings and recommendations with the seriousness they deserve. Their expertise is valuable in prioritizing repairs and setting up a maintenance schedule to extend the life of your roof.
The Post-Inspection Roadmap
Once the roof inspection is complete, you will be equipped with a detailed report outlining the condition of your roof. This document is vital as it guides the necessary next steps, whether it’s immediate repairs or long-term maintenance planning. Make a point to discuss any urgent issues with your inspector and set priorities for addressing them to prevent future complications.
Charting a Course for Roof Longevity
Your proactive approach doesn’t end with reading the inspection report; it’s just the beginning. Utilize the findings to map out a maintenance strategy that will extend the life of your roof and enhance your home’s protection. Should the report suggest it, explore options such as upgrading to durable materials like metal roofing, or simply establish a routine check-up schedule to ensure ongoing roof health and stability.