• Step-by-step explanation of how insurance adjusters assess roof damage
• Insights into the factors that influence insurance evaluations and coverage
• Importance of professional assessment for accurate insurance claims and repairs
Identifying Roof Damage: What Every Homeowner Should Know
As the leaves in Rhode Island turn a rich tapestry of red and gold, homeowners should also turn a keen eye to the condition of their roofs. The transition into the fall season can unveil a host of roofing issues that may have developed over the hotter months or been exacerbated by seasonal storms. It’s essential to spot signs of wear and tear early, such as missing shingles, leaks, or water stains on ceilings. These symptoms suggest that it might be time to evaluate your roof’s integrity before further damage ensues.
When to Take Action: Spotting the Red Flags
The initial signs of roof damage may seem innocuous, like a few granules in the gutter, but they can be harbingers of greater problems. Cracked, curled, or absent shingles are not just a cosmetic issue—they can serve as entry points for water, leading to more significant damage inside your home. In the brisk autumn air of Rhode Island, a draft or a sudden spike in energy bills can also indicate insulation problems due to roof damage. Acknowledging these signs is the first step toward addressing potential issues and preventing escalated damage that can be costly to repair.
Establishing the Severity of Damage
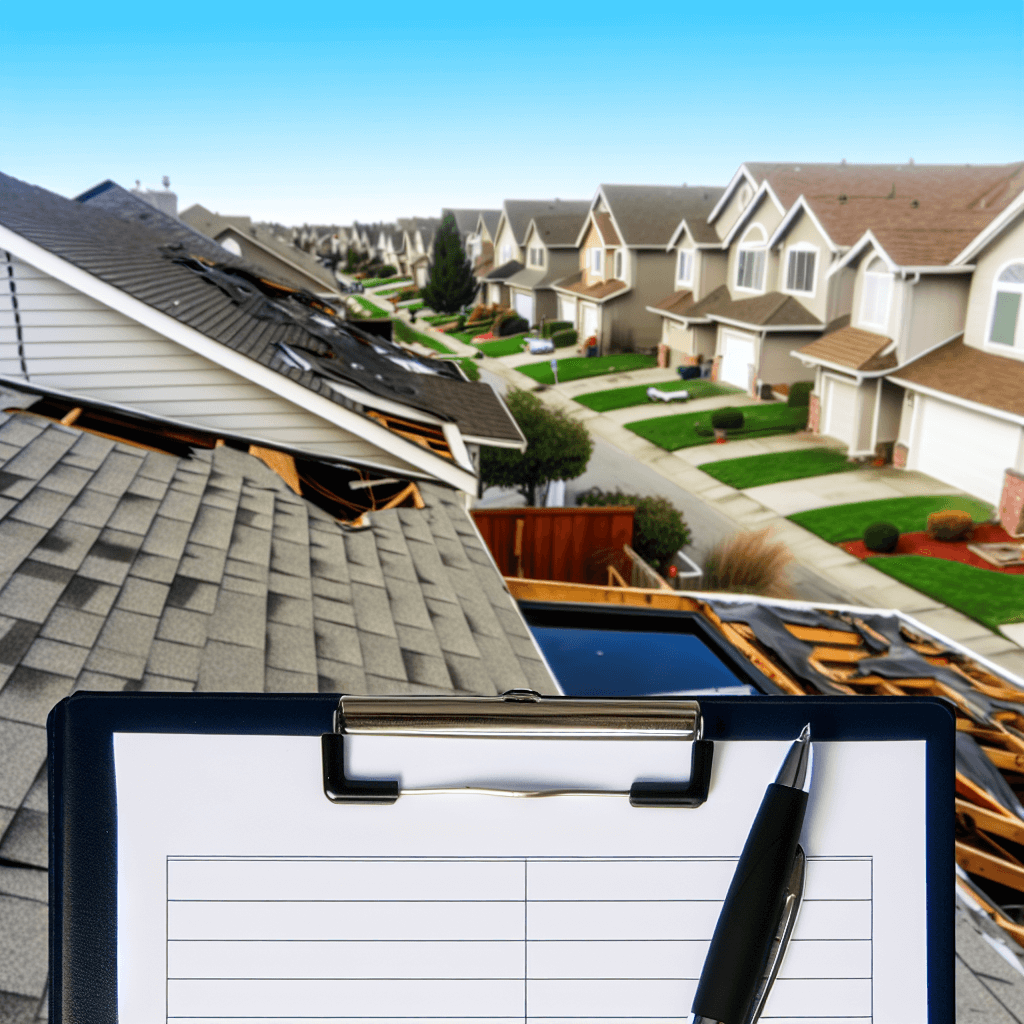
After noticing the signs, it’s important not to delay action. Take a moment to inspect your roof from the ground—a pair of binoculars can come in handy to get a closer look without climbing up. But remember, when it comes to roof inspection, safety should always come first; if in doubt, consult a professional. Documenting the extent of visible damage with photos can be incredibly helpful—not just for your records but also as evidence when you contact your insurance company to report the issue and start the claims process.
Getting Started with Your Insurance Claim
When the time comes to contend with roof damage, understanding your insurance policy’s nuances is pivotal. As a homeowner in Rhode Island, knowing the specifics can empower you to navigate the claims process with confidence. Key elements to familiarize yourself with include the types of roof damage covered, your coverage limits, and the particulars of your deductible. Armed with this knowledge, you’re better prepared to discuss your claim effectively and ensure that you receive the fair coverage you’re entitled to.
Documentation: The Cornerstone of Your Claim
The importance of meticulously documenting roof damage cannot be overstressed, as it is the backbone of your insurance claim. Snapshots and video footage of the damage provide an unambiguous narrative of the state of your roof, which can be instrumental when it’s time for evaluation. These records should capture both the exterior condition and any interior evidence of leaking or damage that ties back to the roof’s wear. Be sure to store this evidence securely, as it will play a critical role when you visit our roof insurance claims service page and begin the actual claim-filing process.
Step 1: Contact Your Insurance Company
Begin the process by reaching out to your insurance company to report roof damage. Provide an accurate description of the damage, and inquire about the next steps in the claims process.
Step 2: Understand Your Policy
Review your insurance policy to comprehend what type of roof damage is covered, the extent of coverage, and any deductibles that apply. Knowledge of your coverage helps set expectations for the adjuster’s evaluation.
Step 3: Document the Damage
Take clear photos and videos of the roof damage from multiple angles. Document any damage inside the home that resulted from the compromised roof. Detailed documentation aids the adjuster’s assessment and supports your claim.
Step 4: Schedule an Appointment with an Adjuster
Once you’ve initiated the claim, the insurance company will arrange for an adjuster to visit your property. Schedule a time that allows you to be present during the evaluation.
Step 5: Prepare for the Adjuster’s Visit
Before the adjuster arrives, ensure the damaged areas are accessible. Have your documentation ready, including any repair estimates you’ve obtained from roofing contractors.
Step 6: Accompany the Adjuster
Walk with the insurance adjuster as they inspect the roof damage. Point out all areas of concern, ask questions, and share your documentation.
Step 7: Review the Adjuster’s Report
After the evaluation, the adjuster will provide a report outlining the extent of the damage, recommended repairs, and an estimate of the costs. Review this report thoroughly and compare it with your documentation and contractor estimates.
Step 8: Follow Up on Your Claim
If there are discrepancies between the adjuster’s report and your roofing contractor’s assessment, discuss these with your insurance company. Follow up as needed to ensure a proper settlement is reached for your claim and repairs can commence.
Steering Clear of Common DIY Claim Filing Mistakes
Navigating the intricacies of roof damage claims can be a daunting process, especially for those who choose the DIY route. Homeowners may inadvertently complicate their claims or delay the adjustment process by overlooking crucial steps or mishandling key tasks. Understanding these pitfalls is essential in ensuring your claim is managed effectively and your reparations handled promptly.
Mistake 1: Delaying the Initial Contact
Many homeowners wait too long to report damage to their insurance company, possibly due to underestimating the seriousness or hoping the problem resolves itself. Time is of the essence; immediate reporting can expedite claim processing and prevent further damage. Make it a priority to contact your insurer as soon as damage is identified.
Mistake 2: Misunderstanding Policy Coverage
Assuming all roof damage will be covered without thoroughly understanding one’s policy details is another frequent oversight. Policies vary widely; some may exclude certain types of damage or weather-related incidents. Review your policy in advance to align your expectations with the realities of your coverage.
Mistake 3: Inadequate Documentation
Insufficient evidence of the damage can lead to claim disputes and potential denial. It’s crucial to provide clear, extensive photographic and written documentation of the damage from various angles and including time stamps. This solidifies your claim and aids in the adjuster’s assessment.
Mistake 4: Foregoing Professional Estimates
Failing to obtain professional repair estimates before the adjuster’s visit can leave you unprepared for negotiations. Seek out at least a couple of repair quotes from reputable contractors to have a benchmark for repair costs. This preparation can be pivotal in ensuring your settlement is fair and sufficient.
Mistake 5: Not Being Present During the Evaluation
Not being on-site to discuss the damage with the adjuster can result in missed details. Your presence allows for a dialogue, ensuring all aspects of the damage are considered. Schedule the visit at a time when you can be present, and prepare to walk through your documentation with the adjuster.
Mistake 6: Accepting the Initial Settlement Without Review
Taking the first offer from the insurance company without reviewing details can lead to settling for less than you’re entitled to. Examine the adjuster’s report carefully and discuss any concerns with your insurance provider. Remember, negotiation is a part of the claims process.
Preparation: Setting the Stage for a Smooth Adjuster’s Visit
Facilitating an unimpeded evaluation by the insurance adjuster demands some preliminary work from the homeowner. It begins with ensuring that all affected areas are easily accessible, which may require some cleaning or rearranging. Additionally, gather all repair quotes and documentation in one place to expedite the review process, positioning you for a more efficient and productive inspection.
Collaboration: Working Together with the Adjuster
When the adjuster arrives, it’s beneficial to work in tandem, guiding them through the extent of the damage. This collaborative approach helps guarantee a comprehensive assessment, capturing every detail of the concern. Furthermore, maintaining this cooperative spirit aids in establishing a relación de confianza, which is essential as you navigate this critical juncture in the roof repair journey together.