• Identify early signs of moss on your roof to prevent structural damage and maintain your home’s curb appeal.
• Follow a step-by-step guide to safely and effectively remove moss, ensuring the longevity of your roof with practical DIY solutions.
• Avoid common moss removal mistakes and learn the importance of regular maintenance to keep your roof moss-free.
Understanding the Signs of Moss on Your Roof
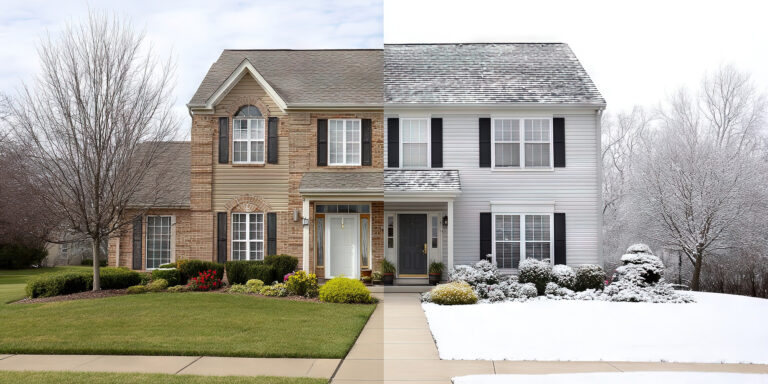
Moss on a roof may seem harmless at first glance; it’s just a bit of greenery, right? Wrong. The presence of these green, fuzzy patches is a red flag signaling moisture retention issues on your rooftop, particularly in shaded areas that don’t see much sunlight. In the lush summer climate of Vermont, these conditions are prime for moss proliferation, which can lead to shingle damage and a compromised roof structure if not addressed promptly.
As you survey the expanse of your roof, look beyond the obvious signs of green moss. Check for subtle indications like a dull, greenish hue in the seams between the shingles or rough patches where the surface granules have started to clump. It’s not just an eyesore—in places where moss has taken a firm hold, it can lift and displace shingles, leading to potential leaks and structural damage. Identifying these signs early can save you from costly repairs down the road.
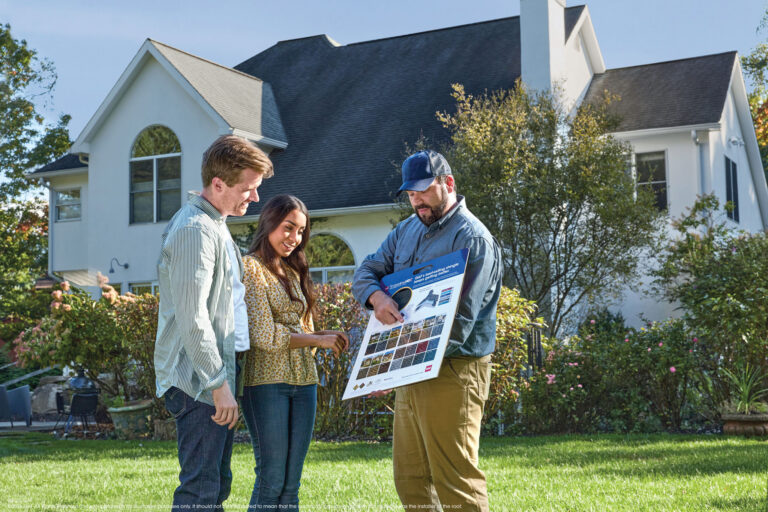
Before diving into the process of how to get rid of moss on your roof, it’s essential to assess the integrity of your roof. Ensuring your safety should be your first priority; if your roof is steep or if you observe extensive moss growth, it may be time to call in the professionals. By tackling the moss promptly and thoroughly, not only will you protect your home, but you’ll also improve its curb appeal, making it a point of pride throughout the sunny Vermont summer.
Preparing for the Moss Removal Process
When the verdant Vermont summer unfolds, the last thing any homeowner wants is for their roof to become a breeding ground for moss. It’s not just about the unsightly green covering—moss can hold moisture against the roof surface, accelerating wear and tear. Selecting the optimal day for treatment is vital; aim for a dry, overcast day where the absence of bright sun allows the moss remover to work effectively without quick evaporation. It is these seemingly small details that can make a significant difference in the effectiveness of your moss removal efforts.
As you embark on this necessary maintenance task, it is crucial to start by protecting the surrounding vegetation of your home. Carefully covering plants with plastic sheeting will shield them from any overspray or runoff from moss-killing solutions, preserving the natural beauty of your home’s exterior. If you’re in need of professional assistance or additional services, visit Adam Quenneville Roofing for expert advice and service options tailored to your needs. Remember, a successful moss removal is not just about the immediate results, but also safeguarding the future health of both your roof and your property’s landscape.
Step 1: Inspect Your Roof
Check your roof for signs of moss growth. Look for green, fuzzy patches on the shingles, especially in areas that are shaded or retain moisture.
Step 2: Choose a Dry, Overcast Day
Plan to treat your roof when the weather forecast predicts several consecutive days of dry weather. Overcast conditions help prevent the treatment solution from evaporating too quickly.
Step 3: Safeguard Surrounding Areas
Before starting, protect your landscaping by covering plants and grass with plastic sheeting. Moss killing agents could potentially harm vegetation.
Step 4: Apply Moss Remover
Use a commercially available moss remover suitable for roofs, or a DIY solution like diluted bleach or dish soap. Follow the manufacturer’s instructions for application.
Step 5: Gently Dislodge Moss
After the moss remover has had time to act, gently brush away the moss using a soft bristle brush. Work down the roof to prevent lifting and damaging shingles.
Step 6: Wash Off Debris
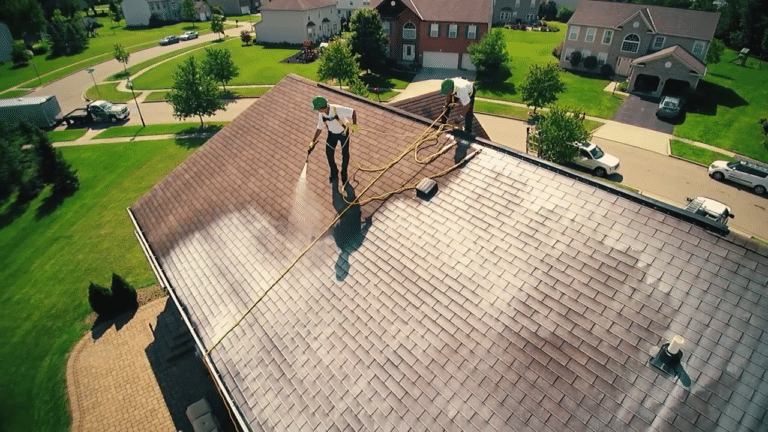
Rinse your roof with a garden hose, starting at the top and working your way down. Avoid using a pressure washer, which can damage the shingles.
Step 7: Take Preventative Measures
To prevent future moss growth, trim overhanging branches to increase sunlight and reduce moisture on your roof. Consider installing zinc or copper strips near the roof ridge, which release metal particles that inhibit moss growth.
Step 8: Regular Maintenance
Keep gutters clean and ensure that your roof has proper drainage. Regular maintenance checks will help stop moss from taking hold and extend the life of your roof.
Avoiding Common Moss Removal Mistakes
Removing moss from your roof is a proactive step to maintain your home’s health, but it can backfire if not done properly. Mistakes during the DIY moss removal process can lead to further damage to your roof, and inadvertently, your wallet. Below are some pitfalls to avoid, ensuring the longevity of your roof and the success of your efforts in keeping it moss-free.
- Mistake 1: Ignoring Safety Precautions
When inspecting your roof for moss growth, safety should be your top priority. All too often, homeowners overlook the risks of working at heights. To prevent falls, always use a secure ladder, wear non-slip shoes, and consider using a safety harness or having someone spot you. - Mistake 2: Choosing the Wrong Weather for Treatment
Conducting moss treatment during sunny or rainy days can be futile. The solution will either evaporate too fast under the sun or be washed away by rain, resulting in poor efficiency. Always opt for dry, overcast conditions to allow the treatment to penetrate and work effectively. - Mistake 3: Neglecting Plant Protection
Failure to protect your plants and landscaping can lead to collateral damage from harsh chemicals. Before applying moss killer, always cover the surrounding foliage with plastic sheeting. This simple step can prevent your gardening efforts from being undone by moss removal agents. - Mistake 4: Using the Wrong Application Method
Using a high-pressure washer or scrubbing too vigorously can damage your shingles and roof structure. The key is gentle application—apply moss remover as directed and gently brush away the moss. This way, you’ll preserve the integrity of your roofing material while removing the unwanted growth. - Mistake 5: Inadequate Moss Removal Solutions
Choosing the incorrect moss remover, or improperly diluting it, can compromise the treatment’s efficacy. Ensure you’re using a remover that’s designed for roofs and carefully follow the instructions to avoid damaging your shingles or harming the environment. - Mistake 6: Overlooking Preventative Measures
Once moss is removed, failing to implement preventative strategies can lead to a quick recurrence. Trim any tree branches that overhang your roof and consider installing metal strips to prevent future growth. These steps will make your moss removal efforts last longer. - Mistake 7: Skipping Regular Maintenance
Post-moss treatment complacency can lead to repeated issues. Regularly inspect your roof for early signs of moss and maintain clean gutters for proper drainage. Consistent upkeep is your best defense against moss returning and wreaking havoc again.
Applying the Treatment to Remove Moss
The first actual step in dealing with the menace of roof moss is to apply an appropriate moss remover. Choose a moss removal solution that is both effective and safe for your roofing material. Carefully following the manufacturer’s instructions, treat the affected areas thoroughly, but avoid over-application to protect the integrity of your roof and minimize any environmental impact.
Once the moss removal solution has had time to act, it’s time for the delicate task of gently dislodging the moss. Using a soft bristle brush, start at the top and sweep downwards to remove the now-loosened moss, being careful not to damage the shingles. For comprehensive protection and long-lasting results, consider consulting with specialists on options such as metal roofing, which is less hospitable to moss growth and offers a durable solution.