• Understanding Roof Leak Costs: Learn to calculate the potential expenses involved in fixing a roof leak, helping you budget wisely.
• Professional Insight: Discover why hiring a seasoned roofing expert is crucial for accurate assessments, effective repairs, and long-term savings.
• Expert Resources: Explore the benefits of professional roofing services and stay informed by connecting with us on our social media page for the latest updates and projects.
Spotting the Warning Signs
As homeowners in Maine gear up for the chill of November, it’s crucial to remain vigilant for any signs that your roof may be compromised. Look for dark water stains on the ceiling or walls, which often indicate a leak overhead. If you detect a musty odor in certain areas of your house, this may be a sign of mold growth due to moisture intrusion from a leaking roof. Moreover, check your attic for damp insulation or any light that’s peeking through the roof, as these are clear signs your roof needs attention.
Evaluating the Impact of a Leak
Understanding the severity of a roof leak early can save you from a colossal expenditure on repairs. A small, isolated wet spot might signify a minor issue, whereas widespread staining could point to a more serious problem. When assessing the damage, take note of any sagging in the roof decking or rust on nails and fixtures, as these details contribute to the cost estimate. It’s these subtle cues that can alert you to the urgency of repairing your roof leak.
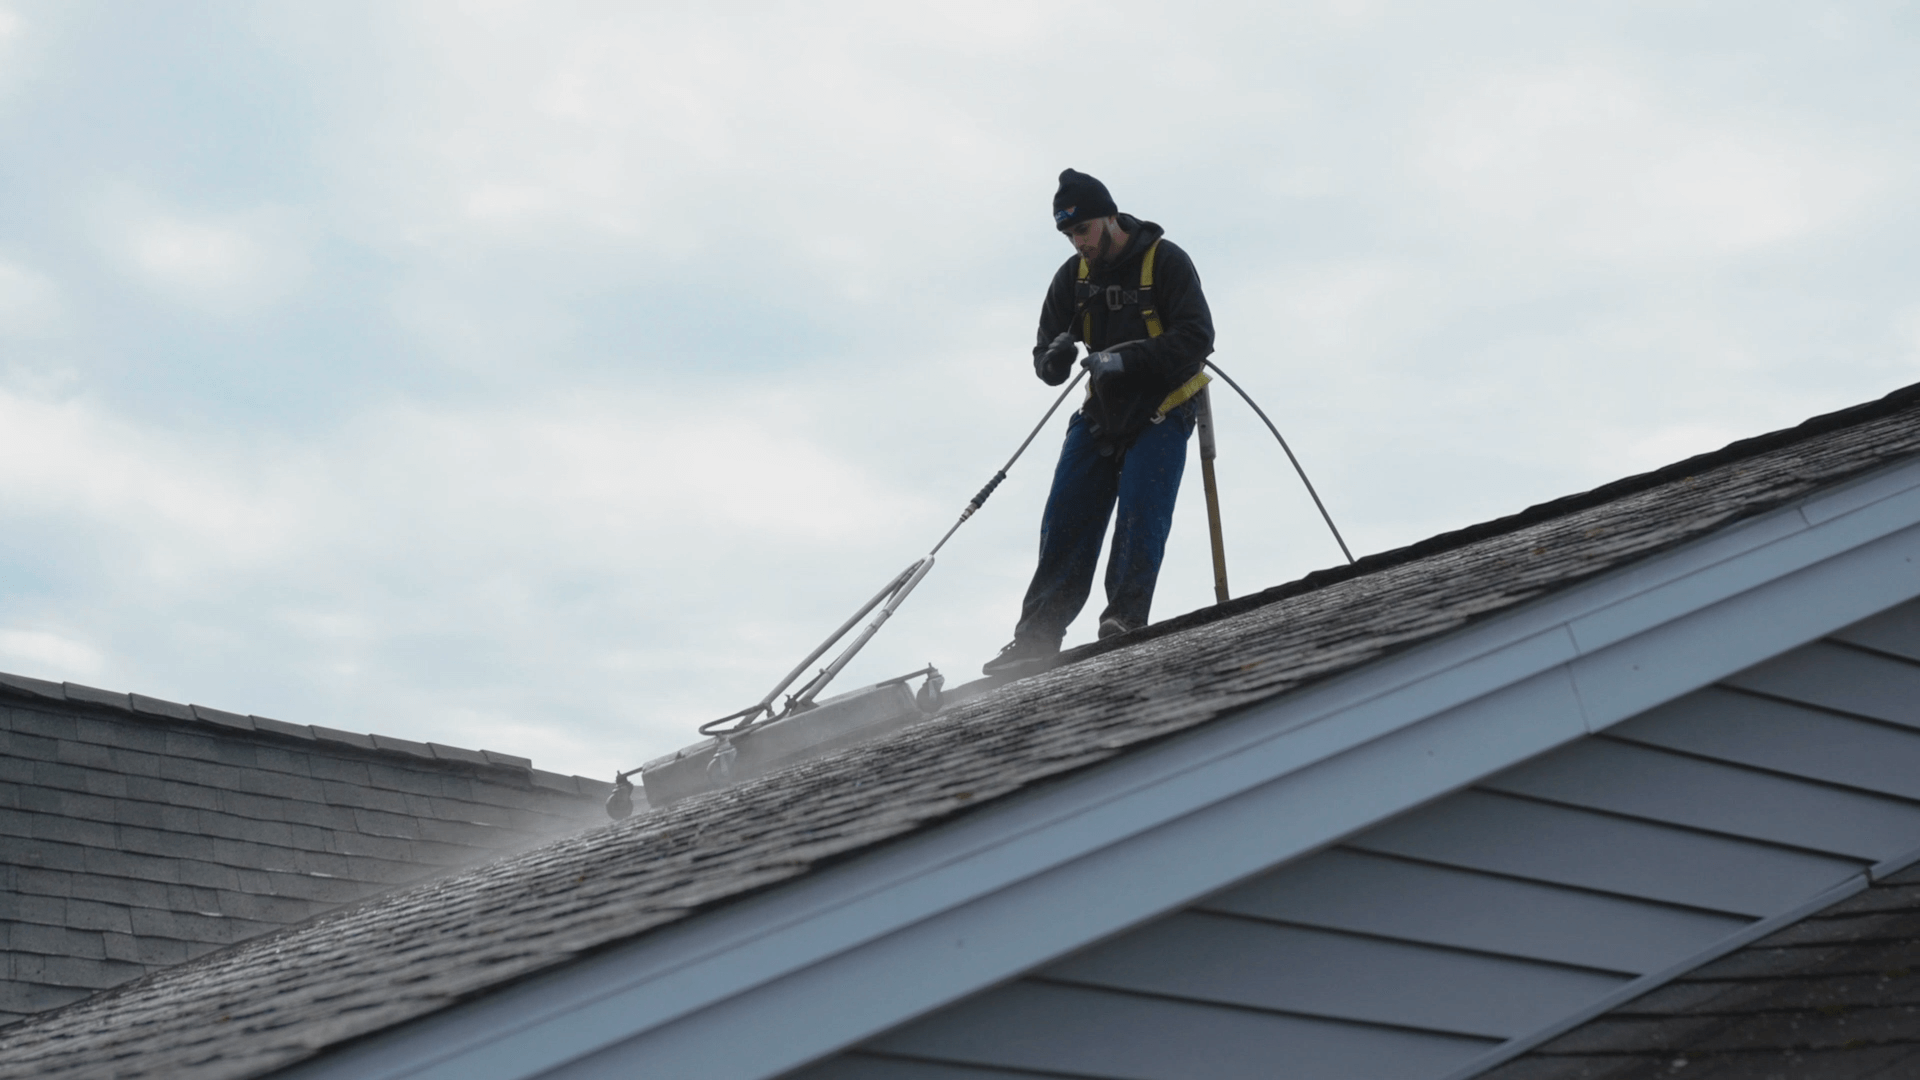
Is it Time for a Professional Look?
While identifying symptoms is something you can do, quantifying the specifics of the damage often requires a professional eye. Contacting a qualified roofing contractor for a detailed inspection is a proactive step towards securing a precise repair cost estimate. They’ll meticulously scan each shingle and flashing for deterioration, ensuring nothing is missed. This comprehensive approach not only gives you a clearer idea of the upcoming roof leak repair cost estimate but also helps outline your next steps towards a watertight home.
I apologize for any confusion, but it appears that you have not provided the specific anchor text to use with the internal links. Could you please provide the desired anchor text for each URL, so that I can include it correctly in the content?
Step 1: Identify the Source of the Leak
Before considering the costs, pinpoint the exact spot where your roof is leaking. Look for signs like water stains, mold, or dampness on your ceiling and attic.
Step 2: Assess the Extent of the Damage
Evaluate the damage caused by the leak. This could range from minor repairs to replacing large sections of your roof.
Step 3: Get a Professional Roof Inspection
Hire a licensed roofing contractor to conduct a thorough inspection. They will provide a detailed report on issues and potential risks.
Step 4: Review the Roof Inspection Checklist
The contractor’s inspection checklist should detail the shingle condition, flashing, gutters, and structural elements.
Step 5: Obtain Multiple Estimates
Request cost estimates from several roofing companies. Ensure they outline the labor and material costs.
Step 6: Consider Roof Repair Financing Options
If the cost is significant, explore financing options that may be provided by the roofing company or through financial institutions.
Step 7: Schedule the Repair
Choose the best contractor based on their reputation, estimate, and your budget, then schedule the repair during favorable weather.
Step 8: Implement Preventative Measures
Once the repair is complete, discuss maintenance tips with your contractor to prevent future leaks and water damage.
Common DIY Roof Repair Mistakes to Avoid
Embarking on a DIY roof repair can be challenging, and while it’s admirable to tackle this task, certain pitfalls can make the situation worse. Neglecting to address these common errors can lead to more extensive damage and higher repair costs in the long run. Understanding these missteps is essential for safe and effective roof maintenance.
Mistake 1: Ignoring Safety Precautions
Many homeowners dive into DIY repairs without proper safety gear or protocols, which can result in accidents. Always use a sturdy ladder, wear non-slip shoes, and consider a harness system when working on the roof.
Mistake 2: Incorrect Leak Identification
A frequent error is misidentifying the leak source, leading to unnecessary repairs. Water stains or mold may trick you into fixing the wrong area. Always trace the water path back to its origin.
Mistake 3: Using Inappropriate Materials
Choosing the wrong materials for patching can fail to resolve the issue or cause further damage. Research and select materials that are compatible with your roof type and local weather conditions.
Mistake 4: Poor Patching Techniques
Improper application of sealants or patches can lead to more leaks. Be meticulous in cleaning and prepping the area, and apply materials as instructed to create a watertight seal.
By recognizing and avoiding these errors, homeowners can better ensure the longevity of their repairs and the integrity of their roof.
Visit us through our social media page for up to date news and new projects we’re working on.