• Discover simple, safe steps to remove moss from your roof and prevent it from coming back
• Learn about common DIY moss removal mistakes to avoid and protect your roof’s integrity
• Find out why professional roof care is the best choice for long-term home maintenance
Recognizing the Warning Signs of Moss Accumulation
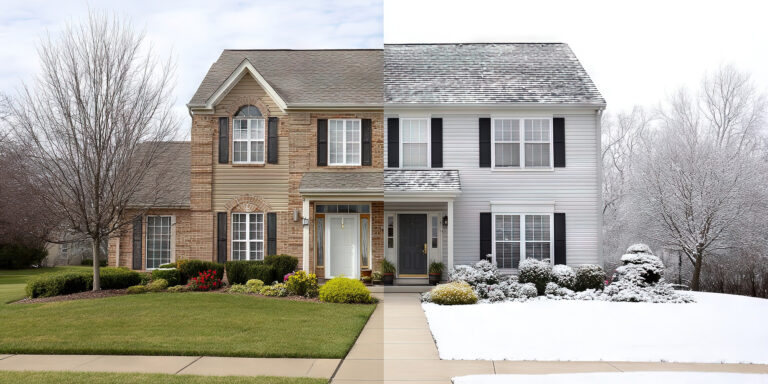
When the verdant sprawl of moss begins to overtake your roof, it’s not just an eyesore—it’s a clarion call for immediate attention. This unwelcome guest clings tenaciously to shingles, trapping moisture against the roof’s surface and potentially leading to damage. Look for thick green patches that darken when wet and an uneven roof surface texture as definitive indicators. From the safety of the ground, use a pair of binoculars for a closer inspection or climb a ladder carefully to gain a better vantage point.
Timing Is Key for Effective Moss Removal
The success of your moss removal efforts greatly hinges on choosing the optimal day for the task. Target a day that’s both dry and overcast to ensure that the treatment adheres without the premature evaporation that sunlight can cause. This perfect timing not only maximizes the efficiency of your moss removal but also ensures that the solution reaches deeply into the moss’s root system without interruption.
Preparation and Safety Before Starting
Safety is paramount when preparing to tackle moss removal from your home’s rooftop safeguard. Equip yourself with the essentials: non-slip shoes to mitigate the risk of slips and falls, robust gloves for handling moss and solutions, and eye protection to prevent accidental splashes. With your protective gear in place, you’ll be ready to embark on Step 4: Gently Remove Large Clumps by Hand, taking care not to damage the integrity of your shingles and setting the stage for a clean, moss-free roof.
Gentle Removal and Treatment Application
Stepping onto your roof, begin the process by hand-picking the larger moss clumps. This method is gentle on your shingles and prepares the surface for the next crucial step. Once cleared, it’s time to apply a moss-killing solution specifically designed for roof treatment. Be cautious, follow the product guidelines diligently, and ensure the entire affected area is thoroughly coated to halt the moss growth in its tracks.
Ensuring Effective Moss Elimination
After application, patience becomes your best ally—give the moss killer ample time to do its work. Letting the solution sit undisturbed means it can penetrate deeply, ensuring that not only the visible moss but also its roots are effectively eradicated. Once the recommended time has elapsed, the rinsing process begins, starting from the roof’s peak to ensure a downward flow that won’t lift or compromise your shingles. By adopting a methodical approach, you can restore your roof to its original moss-free condition.
Step 1: Assess the Extent of Moss Growth
Start by inspecting your roof to determine how much moss has accumulated. Do this safely from the ground using binoculars, or carefully use a ladder to get a closer look.
Step 2: Choose a Dry, Overcast Day
Plan to remove the moss on a day that is dry and overcast. Sunlight can cause the cleaning solution to evaporate too quickly, reducing its effectiveness.
Step 3: Wear Protective Gear
Before getting on the roof, make sure to wear non-slip shoes, gloves, and eye protection. Safety should be your top priority.
Step 4: Gently Remove Large Clumps by Hand
Carefully climb onto the roof and gently remove larger moss clumps by hand. Do not use a pressure washer or a hard brush as they can damage your shingles.
Step 5: Apply Moss-Killing Solution
Prepare a moss-killing solution or choose a commercial moss remover approved for roofs. Follow the manufacturer’s instructions for application.
Step 6: Let the Solution Sit
Allow the solution to sit for the recommended amount of time to penetrate the moss and kill it thoroughly.
Step 7: Rinse Off the Dead Moss
Once the moss is dead, rinse your roof with a hose starting from the top and working your way down. This will help to avoid lifting shingles and causing leaks.
Step 8: Prevent Future Moss Growth
Prevent future moss growth by trimming overhanging branches to reduce shade on the roof and maintain good airflow. Consider installing zinc or copper strips at the roof’s peak as moss dislikes these metals.
Steering Clear of Common Moss Removal Missteps
DIY projects can be rewarding, but when it comes to removing moss from roofs, certain blunders can lead to more harm than good. This introduction aims to help you dodge typical pitfalls that homeowners face during the moss removal process. By steering clear of these errors, you’ll ensure the integrity of your roof remains uncompromised while also effectively eliminating the moss.
Mistake 1: Ignoring Safety Precautions
Many individuals underestimate the hazards of working on a roof. Always prioritize your safety by wearing proper footwear, gloves, and eye protection. Neglecting these can result in slips or falls, and unwanted contact with chemicals.
Mistake 2: Choosing the Wrong Weather for Treatment
Attempting moss removal on a sunny or wet day is a common error. The ideal conditions are dry and overcast to allow the solution to work without evaporating or washing away. Planning your task for the right day is crucial to the treatment’s success.
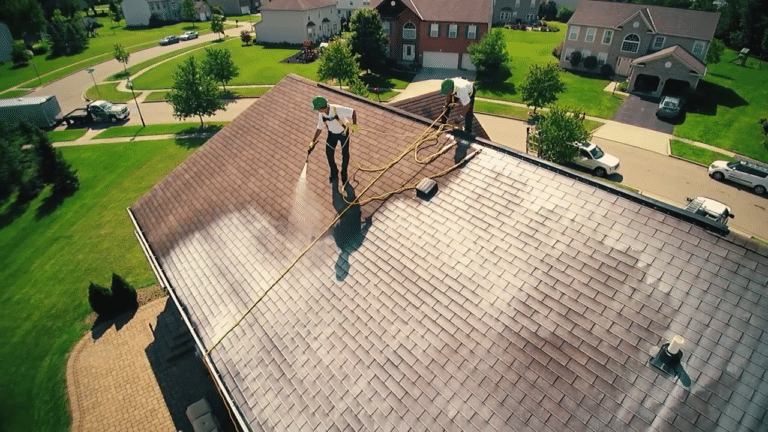
Mistake 3: Over-aggressive Moss Removal Techniques
It might be tempting to scrape or power-wash moss away for quick results, but this can damage your roof. Gentle hand removal prevents harming shingle integrity, ensuring your roof’s longevity.
Mistake 4: Improper Application of Moss-Killing Solutions
Applying too little or too much solution—or using it incorrectly—can lead to persistent moss or roof damage. It’s vital to follow the manufacturer’s directions precisely to both kill the moss effectively and avoid harming your roof.
Mistake 5: Inadequate Post-Treatment Rinsing
Failure to thoroughly rinse off dead moss can leave residues that hamper your roof’s appearance and functionality. Ensure you rinse from top to bottom to mimic natural rainfall and remove all remnants.
Mistake 6: Neglecting Preventative Measures
The fight against moss doesn’t end with its removal. Without preventative steps like trimming overhanging branches and installing metal strips, you’re setting the stage for moss to return. Addressing these factors now can save you trouble later.
Rinsing and Preventing Future Growth
Once the moss is dead, a thorough rinse is imperative to clear away the remnants and prevent any further damage. Start at the peak and gently work your way down, mimicking the rain’s natural cleansing path. This not only safeguards your shingles but ensures that all the moss is washed away effortlessly.
Long-Term Moss Management
With the moss removed, preserving your clean roof becomes the new focus. Trim nearby tree branches to reduce shade and moisture—moss’s preferred environment. Consider installing metal strips such as zinc or copper, which are natural deterrents to moss regrowth, to keep your roof in pristine condition for years to come. If you’re keen on maintaining a robust defense against moss, explore the variety of roofing materials available that are resistant to moss and other elements.