• Discover essential steps for installing commercial metal roofing and ensure your project succeeds in Rhode Island’s summer environment.
• Learn to avoid common DIY roofing installation mistakes that could lead to costly repairs and inefficiencies.
• Understand the importance of regular maintenance post-installation and connect with our team via our social media for the latest updates.
Recognizing When It’s Time for a Change
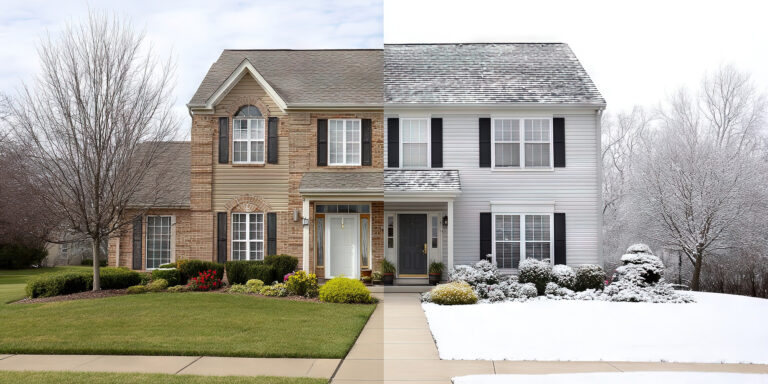
Your commercial property is a significant investment, and the roof is one of its most critical components. When problems arise, they can lead to costly damages if not addressed promptly. It’s important to spot signs that indicate your metal roofing may need replacement before undertaking the installation process. Look for signs such as widespread rusting, persistent leaks despite repairs, or significant energy inefficiency.
Another key indicator is the age of your roof. Commercial metal roofing systems have a substantial lifespan but are not impervious to the effects of time and weather. If your roof is approaching or has surpassed its expected service time, it’s advisable to conduct a thorough assessment. This involves examining the entire roofing structure for weaknesses, potential hazards, or failure points that compromise its integrity.
The right preparation can save you from unexpected setbacks during the installation of new commercial metal roofing. Before diving into the installation steps, ensure that no previous installation flaws are overlooked. Damages like bent or missing flashing, dents, or holes in the metal panels are often tell-tale signs of underlying issues. By addressing these early on, you set a solid foundation for the new roofing, guaranteeing optimal performance and long-term protection for your commercial building.
The Path to a Robust Roofing System
Step 1: Assess the Project – The initial phase of installing commercial metal roofing is crucial and requires careful planning. Start by giving the building’s structure a comprehensive evaluation, noting any current issues and accurately measuring the area to estimate material needs. This step will ensure that further stages of the installation are executed smoothly and efficiently.
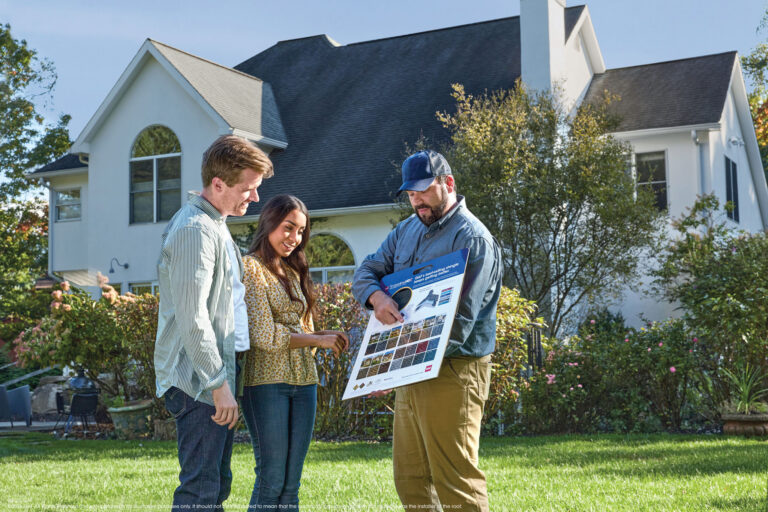
Step 2: Choose Appropriate Metal Roofing Materials – Rhode Island’s climate poses unique challenges and opportunities for roofing materials. Choosing materials that can withstand local weather patterns, complement the building’s architecture, and support its weight is key. Additionally, consider how the chosen materials might influence the building’s energy consumption and aesthetic presence.
Step 3: Prepare the Roofing Surface – The longevity of any roofing system is founded upon a clean, stable surface. Take time to strip old roofing layers, repair any structural damage to the roofing deck, and clear away all debris. A pristine surface is critical for a successful installation of the new commercial metal roofing.
Laying a Solid Foundation
Preparation is key when it comes to ensuring a successful and durable installation of commercial metal roofing. The fourth step in our guide involves laying down insulation and underlayment, which are essential components for maintaining thermal efficiency and avoiding moisture damage. A properly insulated building can significantly reduce heating and cooling costs, proving eco-friendly and cost-effective in the long run. The underlayment acts as a secondary barrier, protecting your roof from potential leaks and weather-related damage.
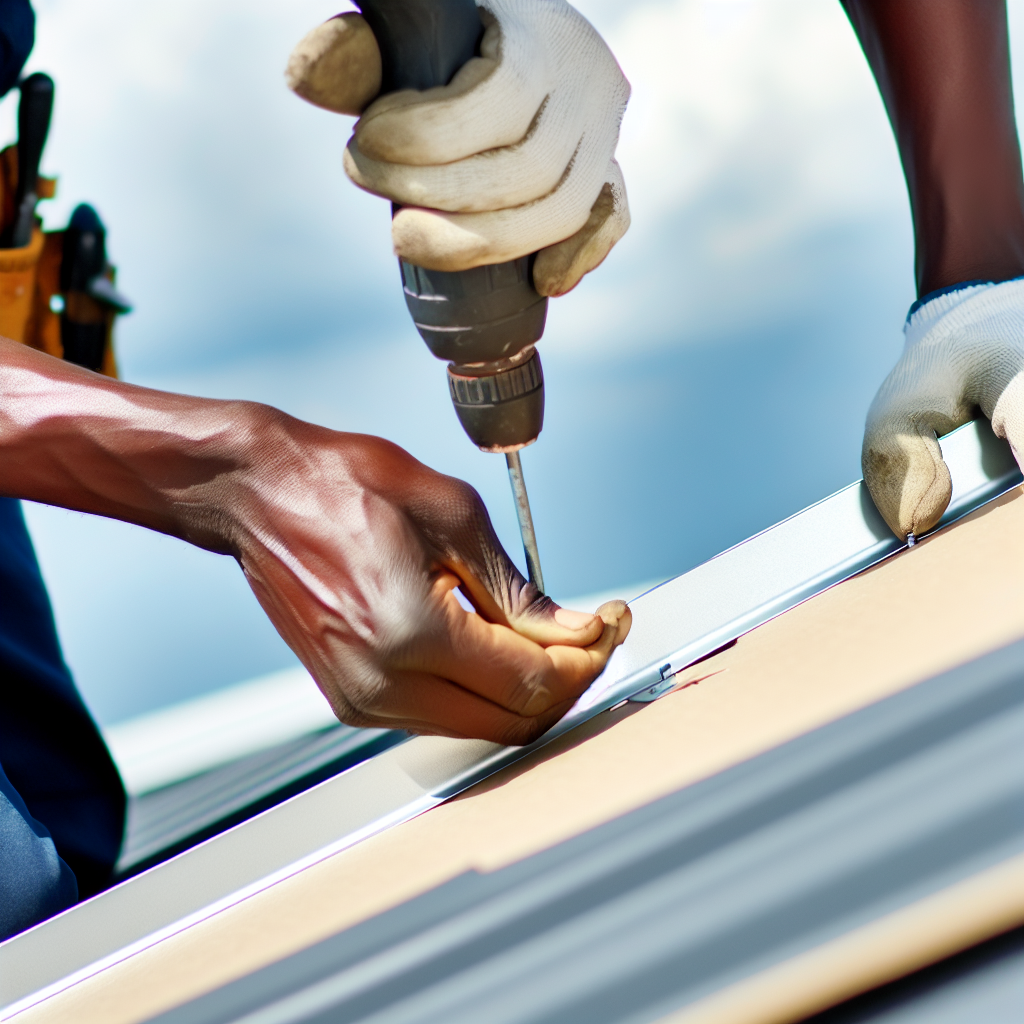
Moving on to the fifth step, the actual installation of the metal panels begins. These panels form the visible and protective exterior of your roof, so precise positioning and secure fastening are crucial for optimal performance. Beginning from the building’s edge and working towards the peak ensures proper panel overlap and water drainage. Utilizing screws and sealants as recommended by the manufacturer will help achieve a watertight seal and fortify the roof against intense summer storms in Rhode Island.
Ensuring A Leak-Free Roof
With the metal panels in place, the sixth step is all about ensuring the roof’s water-tightness through the application of sealants and proper flashing. This crucial step can’t be overlooked, as it guarantees the longevity of your roof by preventing water ingress, which could otherwise lead to expensive repair works or damage to the interior of your property. Applying sealants along the panel edges and seams creates an impermeable barrier against moisture. Flashing, on the other hand, is installed around roof features to deflect water and provide extra protection from the elements.
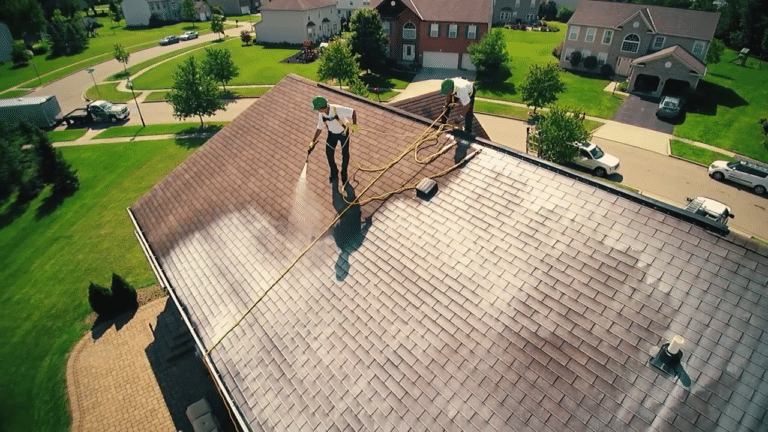
Following installation, the roof must be meticulously inspected to confirm the quality and correctness of the work. Step seven involves a comprehensive check of all fasteners, sealants, and alignments, with special attention to any gaps or potential leak points. Ensuring that these elements are correctly installed provides peace of mind and safeguards the building below. Lastly, it’s essential not to forget about establishing a maintenance plan, as regular inspections and upkeep will sustain the roof’s integrity and function over time — for advice on setting up a maintenance plan tailored to your building, visit our dedicated commercial roofing services.
Step 1: Assess the Project
Begin with a thorough assessment of the building where the new commercial metal roofing will be installed. Evaluate the existing roofing system, taking note of any structural issues, and gather measurements to determine the amount of roofing material required.
Step 2: Choose Appropriate Metal Roofing Materials
Select the type of metal roofing material suitable for the location’s climate, the building’s design, and structural capabilities. Factors to consider include durability, energy efficiency, and aesthetic appeal.
Step 3: Prepare the Roofing Surface
Ensure that the roof is ready for installation. Remove any old roofing materials, fix damage to the roof deck, and clean the surface thoroughly. It’s essential that the surface is flat and free from debris.
Step 4: Install Insulation and Underlayment
To provide a barrier against weather and improve energy efficiency, lay down a layer of insulation followed by roofing underlayment. This step is fundamental for protecting the metal roofing from potential moisture damage.
Step 5: Install the Metal Panels
Carefully begin placing the metal roofing panels on the roof’s surface, starting from the bottom edge and working your way up to the peak. Secure each panel according to the manufacturer’s guidelines—usually with screws and sealant to ensure that they are watertight.
Step 6: Apply Sealants and Flashing
Apply proper sealants to prevent leaks, focusing on areas where panels overlap and around the roof edges. Install flashing around vents, chimneys, and other roof protrusions to deflect water and protect the structure.
Step 7: Inspect for Quality and Correctness
After the installation is complete, inspect the entire roof to ensure all components are properly fastened, sealed, and aligned. Confirm that there are no gaps or areas prone to leaks.
Step 8: Establish a Maintenance Plan
Protect your investment with a proactive maintenance plan. Schedule regular inspections to check for potential issues such as loose panels or sealant failures and address them promptly to avoid costly repairs.
Steering Clear of Installation Pitfalls
While DIY projects can be rewarding, they also come with their share of potential pitfalls, especially when it comes to something as complex as installing commercial metal roofing. Common mistakes can lead to unnecessary costs, delays, and even the need for complete redos. Understanding these errors beforehand can ensure a smoother installation process and a roof that stands the test of time.
- Mistake 1: Inadequate Assessment of Roofing Structure
It’s not uncommon for individuals to underestimate the importance of a thorough inspection of the existing roof. This can result in missing critical issues like rotting underlayers or structural weaknesses that will undermine the new installation. A meticulous evaluation, as outlined in Step 1, is essential to avoid this mistake. - Mistake 2: Choosing the Wrong Materials
Choosing materials that are ill-suited for the local climate or building’s structure, as cautioned in Step 2, can have significant long-term repercussions. This mistake often stems from prioritizing cost over quality, which can lead to early wear and tear. Selecting the appropriate metal roofing materials can avert future complications. - Mistake 3: Improper Roof Surface Preparation
Failure to correctly prepare the roof surface as per Step 3 is a frequent error. Neglecting to remove old materials or failing to repair damaged areas creates a weak foundation for the new roof. Ensuring a clean, flat surface is critical to prevent this mistake. - Mistake 4: Skipping Insulation and Underlayment
The installation of insulation and underlayment, critical aspects highlighted in Step 4, is sometimes overlooked. This omission can cause increased energy costs and moisture issues. Proper installation of these elements is a must to protect against weather and to improve energy efficiency. - Mistake 5: Incorrect Panel Installation
Improper alignment and securing of metal panels, referred to in Step 5, can lead to leaks and aesthetic issues. This commonly happens when panels are rushed into place without paying attention to the manufacturer’s guidelines. Taking the time to align and secure each panel properly is vital. - Mistake 6: Neglecting Sealant and Flashing Details
Applying sealants and installing flashing are detailed tasks essential for a watertight roof, as suggested in Step 6. A common error is not applying enough sealant or incorrectly placing flashing, which can cause leaks. Attention to detail here is key. - Mistake 7: Overlooking Post-Installation Inspection
There’s a tendency to assume the job ends with the placement of the last panel; however, as Step 7 dictates, inspection post-installation is crucial. Skipping this step might mean missing small errors that could lead to bigger problems. A thorough inspection ensures the roof’s durability. - Mistake 8: Not Planning for Maintenance
The final mistake to avoid is neglecting to establish a maintenance schedule, as is advised in Step 8. Many think that once installed, the roof will look after itself. Regular maintenance is crucial for catching issues early and extending the life of the roof.
Final Checks for Flawless Functionality
After your new commercial metal roof is in place, taking the time to thoroughly inspect each aspect of the installation is imperative. This final review, comprising our seventh step, is your assurance that every component is performing its role effectively. Checking the roof for irregularities now can prevent costly repairs and extend the lifespan of your roofing system.
Following up with a proactive maintenance schedule, which is our eighth step, can not only prolong the life of your roof but also protect your business’s continuity. Regular professional evaluations help in catching early signs of wear or damage. For expert guidance on maintaining your commercial metal roofing, refer to our metal roofing services.
Investing in Your Property’s Future
Implementing a robust metal roofing system is not just about solving current issues; it’s about safeguarding your investment for the future. A well-installed metal roof provides impressive durability and energy efficiency, contributing to the overall value of your property. Plus, it gives you a sense of security, knowing your facility is well-protected against the elements.
By following these detailed steps for installation and committing to ongoing care, you ensure that your commercial roofing can withstand the challenges of Rhode Island’s dynamic weather. Remember, a sound roofing system is a foundation for a secure, productive business environment. And for those looking to enhance their property’s roofing system, exploring our comprehensive commercial roofing options can provide you with the solutions you need.